Vai al contenuto

Guida introduttiva

Help

Abbiamo un forum di discussione nel quale puoi sottoporre i tuoi dubbi, domande e idee. Non esitare a visitarlo.

Ottenere un account QFieldCloud

Desktop preparation

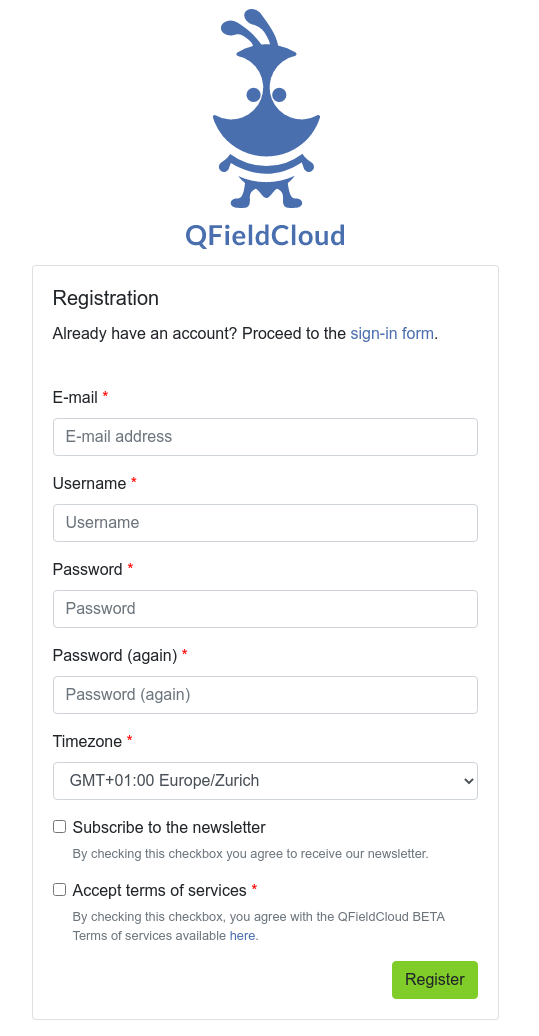
Vai alla pagina di registrazione, inserisci i tuoi dettagli e crea un nuovo account QFieldCloud.

Form di registrazione

Modifica Profilo

Cambia le tue impostazioni personali. Aggiungi una foto del profilo o verifica la tua proprietà o partecipazione in organizzazioni.

Billing

Adding billing information to the account is needed to use QFieldCloud Pro plan or Organization plan.

For a Pro plan, follow these steps :

  1. Click on the username up-right the page
  2. Click on "Upgrade to pro"
  3. In the "Subscription" section, click on "Upgrade"
  4. In Pro section, click on "Activate"
  5. Carefully read the "Terms of Service" and agree to the terms of service, then "Proceed"
  6. In the "Billing Address" section, fill up the form, and then click on "Proceed to payment"

For an Organization plan, follow these steps :

  1. Click on the username up-right the page
  2. Click on "Create organization"
  3. Click on "Create"
  4. Choose a name for your organization with only 150 characters or fewer, letters, digits, and @/./+/-/_
  5. Click on "Create"
  6. Choose how much storage is needed
  7. Carefully read the "Terms of Service"and agree to the terms of service, then "Proceed"
  8. In the "Billing Address" section, fill up the form, and then click on "Proceed to payment"

If the billing information is incomplete, at any time it is possible to finish filling up the form by going to Billing > Subscription > Finish checkout

All pricing information is available on the Pricing page.

Discontinuing Services in QFieldCloud

  1. If you need to cancel your subscription on QFieldCloud: 1.1. For Pro plan accounts, click on your username, choose "Settings." 1.2. For Organization plan account, click on the name of your Organization, click on "Edit Organization". Note you need to be owner of that Organization.

    Enter to setting

  2. Proceed to the "Billing" section, click on "Change".

    Enter to billing section

  3. Select "Cancel Subscription".

    Cancel subscription

  4. Confirm the cancellation in the subsequent pop-up window.

    Confirm Cancel subscription

  5. A Nyuki message will then appear, indicating that the subscription will conclude at the end of the current billing period.

    Cancellation message

Organizzazioni

Le tue organizzazioni sono elencate qui. Scopri di più a proposito dei team, membri e ruoli nei concetti dell'Ecosistema QField.

Progetti

Cerca e scegli un progetto dalla lista o inizia a creare un nuovo progetto.
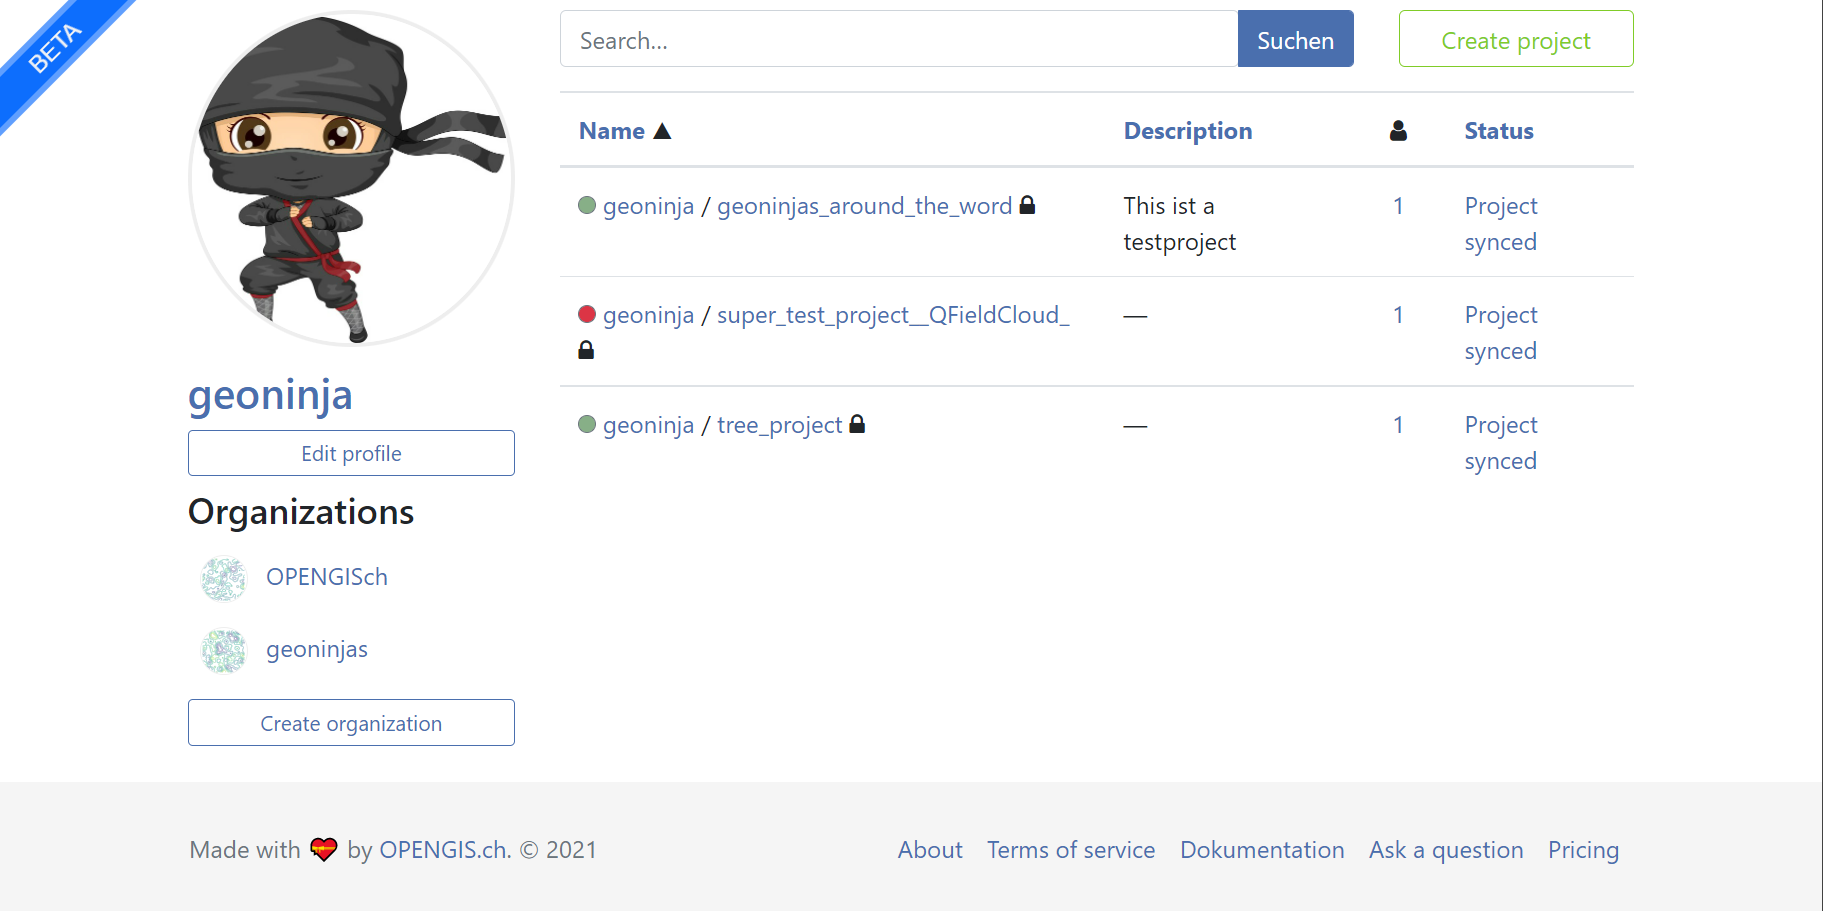
Visione d'insiemen dei progetti QFieldCloud

Connessione a QFieldCloud su QGIS Desktop

Desktop preparation

Per connetterti a QFieldCloud, ti server il plugin "QFieldSync" in QGIS. I prossimi step mostrano come installare e sincronizzare i tuoi dati con QFieldCloud.

Installa QFieldSync

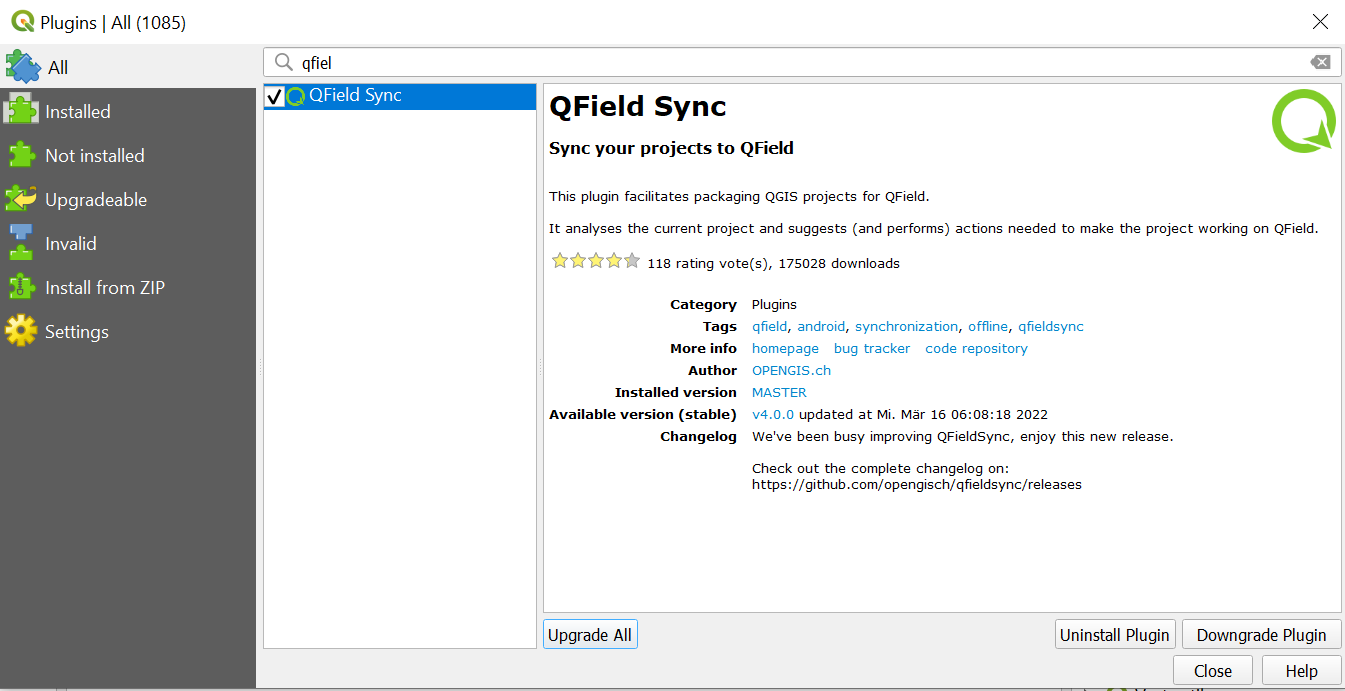
Apri il gestore di plugin di QGIS andando nel menu Plugins -> Gestisci ed Installa Plugins....

Trova QFieldSysc nella lista dei plugin e installa l'ultima versione cliccando sul pulsante Installa Plugin.

Note

Visto che QFieldCloud si trova ancora in una fase beta, possono esserci frequenti aggiornamenti e correzioni. Per favore aggiorna QFieldSync spesso. In caso di problemi, prova ad aggiornare all'ultima versione prima di segnalare il problema.

Installazione completata

Quando l'installazione è completata, appare una nuova barra degli strumenti.

Toolbar

Login di QFieldCloud

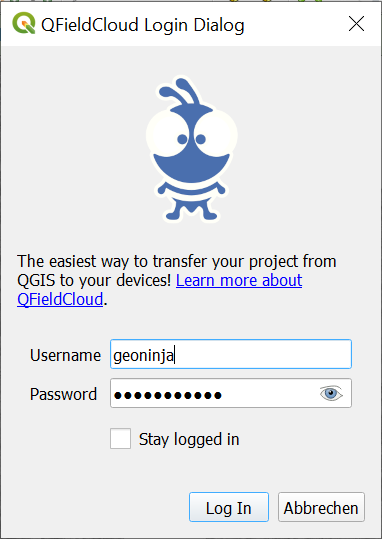
Clicca sull'icona del cloud nella barra degli strumenti di QFieldSync. Apparirà una nuova schermata di accesso:

Schermata di login
Schermata di login

Inserisci le credenziali precedentemente create durante la registrazione dell'account.

Note

Se usi una password in QGIS per la prima volta, ti verrà chiesto di definire una "master password" che gestisce tutte le altre password usate in QGIS. Maggiori informazioni a proposito della "master password" qui: QGIS documentation

Esplora la schermata di panoramica dei progetti: il tuo utente attuale sottolineato e blu, un pulsante di logout in basso a sinistra, un pulsante cloud per creare un nuovo progetto e, sulla destra, un pulsante di aggiornamento per ottenere l'elenco dei progetti più recenti. Gli utenti appena registrati vedranno una tabella vuota e non appena creeranno nuovi progetti, la lista crescerà. La schermata di panoramica dei progetti appare così:
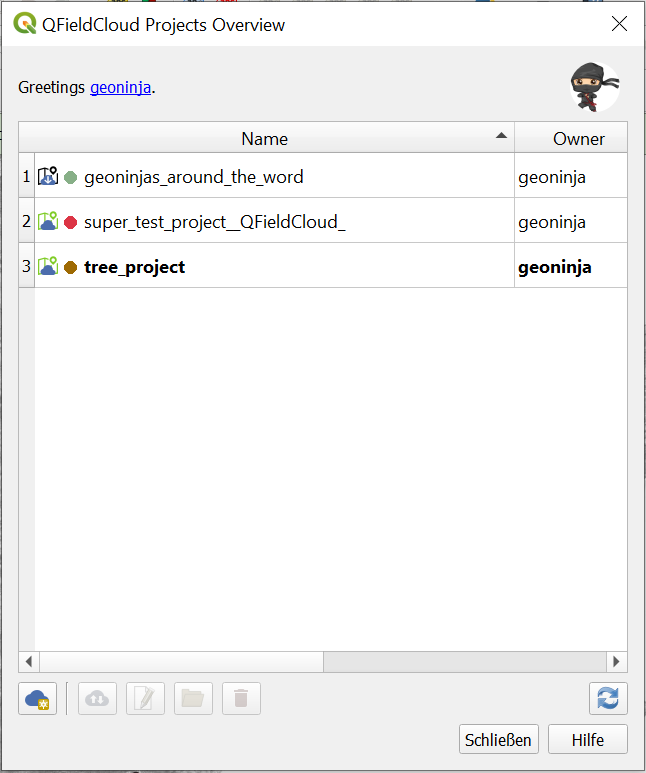
Vista d'insieme dei progetti in QFieldSync

Le icone mostrano lo status cloud e locale dei differenti progetti.

Stato locale:

Stato indica che esiste solamente un progetto cloud remoto. Stato indica che il progetto cloud è anche salvato localmente.

Stato cloud:

Rosso: stato fallito —> il progetto non è valido e non è comprensibile dal cloud. L'utente deve sistemare/caricare il proprio progetto .qgs/.qgz. Marrone: stato occupato —> stiamo lavorando sul tuo progetto, per favore sii paziente. Non puoi fare molto con il tuo progetto nell'attesa. Verde: stato ok —> il progetto è interpretato correttamente dal cloud. Puoi provare a scaricarlo su QField, ma il successo non è garantito.

Lo stato di ogni progetto è mostrato con un tooltip.

Facendo un doppio clic su un progetto nella lista, puoi vedere e modificare le proprietà del progetto.
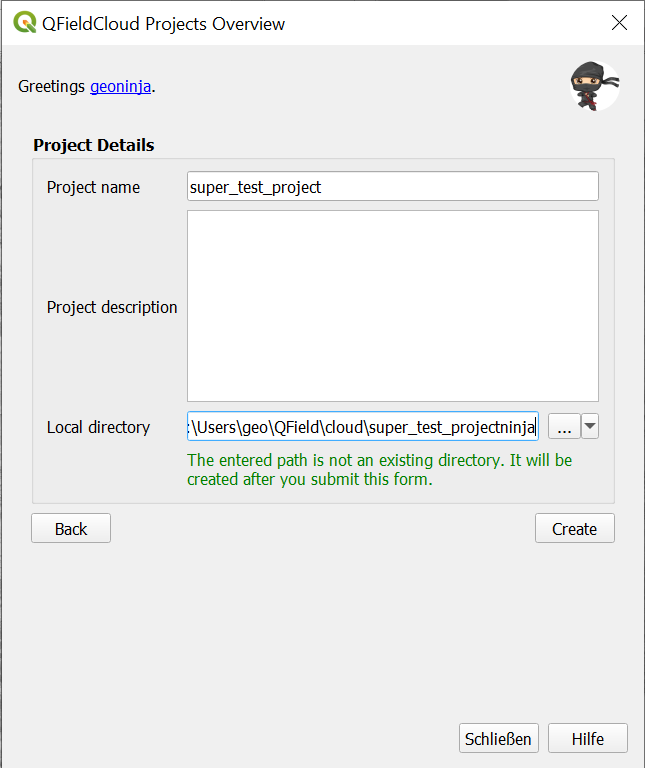
Proprietà del progetto in QFieldCloud

Change the default QFieldCloud server in QField and QField Sync

QField and QFieldSync connect to the QFieldCloud service on app.qfield.cloud by default.

You can modify the default QFieldCloud server QField and QFieldSync connect to:

  1. Open the login screen in QField or QFieldSync.
  2. Double-tap on the Nyuki icon (the blue bee QFieldCloud logo).
  3. This action will reveal a field where you can enter the preferred QFieldCloud server address.
  4. Enter the details of the desired server in the provided field. (Leaving the field empty will connect to the default QFieldCloud server at app.qfield.cloud.)

Reveling server in QField Sync

Reveling server in QField

Note

It's important to note that QFieldSync does not support the same cloud project in multiple QGIS profiles. As a recommendation use a single QGIS profile for your QFieldCloud projects to avoid synchronization issues.

Crea e configura il tuo progetto Cloud

Crea un nuovo progetto cliccando sul pulsante del cloud, in basso a sinistra. Per prima cosa, dovrai scegliere come creare il nuovo progetto fra

  • "Converti il progetto aperto attualmente in un progetto cloud" Un nuovo progetto compatibile con QFieldCloud è creato a partire dal progetto attualmente aperto in QGIS. Per fare questo, i dataset verranno copiati in una directory di esportazione che fungerà da mirror locale. I dataset vettoriali saranno convertiti nel formato geopackage per facilitare la sincronizzazione tra differenti dispositivi mentre altri tipi di dataset saranno copiati nella nuova posizione del progetto.

Per convertire un progetto attuale, una directory completamente vuota è obbligatoria.

  • "Crea un nuovo progetto QFieldCloud" Un nuovo progetto QFieldCloud vuoto sarà creato. Sei responsabile di spostare tutti i file relativi al progetto nella directory locale selezionata, assieme al file del progetto e le sue sottodirectory. Il file del progetto sarà trasferito solamente quando premi il pulsante di sincronizzazione. Verifica che la directory selezionata contenga al massimo un progetto QGIS.

Dettagli del progetto

Un modulo ti domanderà il nome del progetto, descrizione e directory locale. Nella directory locale puoi avere diverse situazioni:

  • Il percorso inserito non contiene ancora un progetto QGIS.
  • Il percorso inserito contiene un progetto QGIS.
  • Per favore scegli una directory locale dove salvare il progetto.
  • Il percorso inserito è un percorso relativo. Per favore inserisci il percorso assoluto di una directory.
  • Il percorso inserito non corrisponde a una directory. Per favore inserisci un percorso valido.
  • Il percorso inserito non corrisponde a una directory esistente. Verrà creata dopo l'invio del modulo.
  • Sono stati trovati più progetti QGIS nella directory. Per favore lascia solamente un progetto QGIS nella root della directory.

Create a project in an Organization

How to create a project in an organization:

Option 1: Directly convert your local project to an Organization QFieldCloud project:

  1. Follow the steps configure your cloud project, ultil you get the "Project details".

  2. Change the owner of the project to your Organization.

    Project files over view in QFieldCloud

  3. Click on "Create" to start the conversion and synchronization. When finish you will see the project is in your Organization in QFieldCloud.

    Project files over view in QFieldCloud

Note

QField Sync 4.6 or newer is required for this functionality

Option 2: Uploading directly to the organization:

  1. Select your organization.

    Entering into Organization

  2. Once you get into the organization, click on "Create a project".

    Creating Project

  3. Select "Create a new empty project".

    New empty project

  4. You can see the new project in the overview.

    New project created

  5. On QGIS in QFieldSync, you will see the new project listed, click on "Edit Selected Cloud Project".

    QFieldSync

  6. Choose the folder where you want to save the project.

    Selecting folder

  7. In the selected folder, you can either paste an already worked-on project or save a new one.

    Copy to project folder

  8. Once the folder contains the project, you can synchronize it.

    QFieldSync Overview

  9. Finally, push the changes to the cloud.

    Pushing changes to QFieldCloud

  10. You can verify that the files are present in the Organization project.

    Project files over view in QFieldCloud

Option 3: Moving the project from your own account to the Organizations:

  1. If you already have a project in QFieldCloud (refer to configure your cloud project). In the project, click on "Settings" and select "Transfer ownership of this project" to choose the desired Organization for the transfer.

    Transferring to Organization

  2. A pop-up window will appear to confirm the transfer. To proceed, you will need to type "Here be dragons" and click "Transfer project".

    Confirm transfer

Configura i layer del progetto per QField

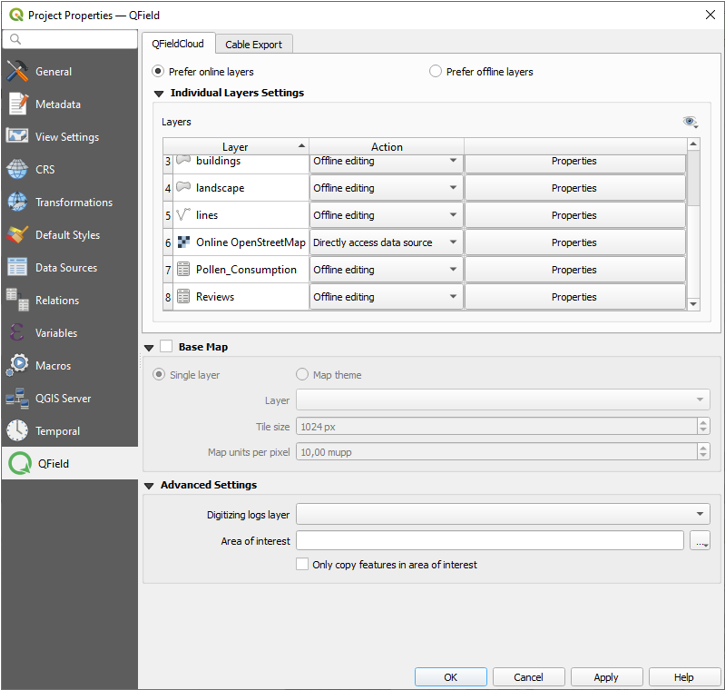
Configure the project layers by clicking the fifth icon in the QFieldSync toolbar . Here you can configure QFieldCloud layer actions. Most of the time you need to configure a preference either to online or offline layers. For more fine grained control, in the advanced settings you can configure the action layer by layer. Get more information about how to configure your layers in the Get Started guide for QFieldSync!.

È raccomandato di usare layer GeoPackage per editing collaborativo. Consulta la guida Setup avanzato per avere maggiori informazioni a proposito dei formati vettoriali supportati.

Note

Se usi data source sperimentali senza una chiave primaria (es. Shapefile, GeoJSON, ecc.), devi avere un campo chiamato fid (in minuscolo) che sarà usato come chiave primaria per definire univocamente ogni elemento.

Ogni formato di layer raster e vettoriale può essere usato per dati in sola lettura.

Proprietà del progetto

Enabling Automatic Pushing of Changes to QFieldCloud

With this functionality, users and managers of QFieldCloud projects can enforce automatic pushing of pending changes to QField devices in the field, as well as specify the interval in between automated pushes. The functionality is activated through a project setting, allowing remote activation.

  1. Access Project Settings: Navigate to the QField panel in the Project Settings dialog provided by the QFieldSync plugin.

  2. Enable Auto-Push: Toggle the "Automatically push pending changes on the following interval" option and establish your preferred interval.

Auto push QFieldSync

Auto push QField
Auto push QField

Note

Benefits:

  • Real-Time Updates: Ensures prompt synchronization of field data with the QFieldCloud project.
  • Streamlined Workflow: Minimizes manual intervention and ensures surveyors do not need to worry about synchronization, helping them focus on data quality.

Considerations:

  • Network Stability: Ensure stable internet connectivity for auto-push functionality.
  • Battery Optimization: Implement strategies to mitigate battery consumption on QField devices during prolonged fieldwork.

Carica un progetto

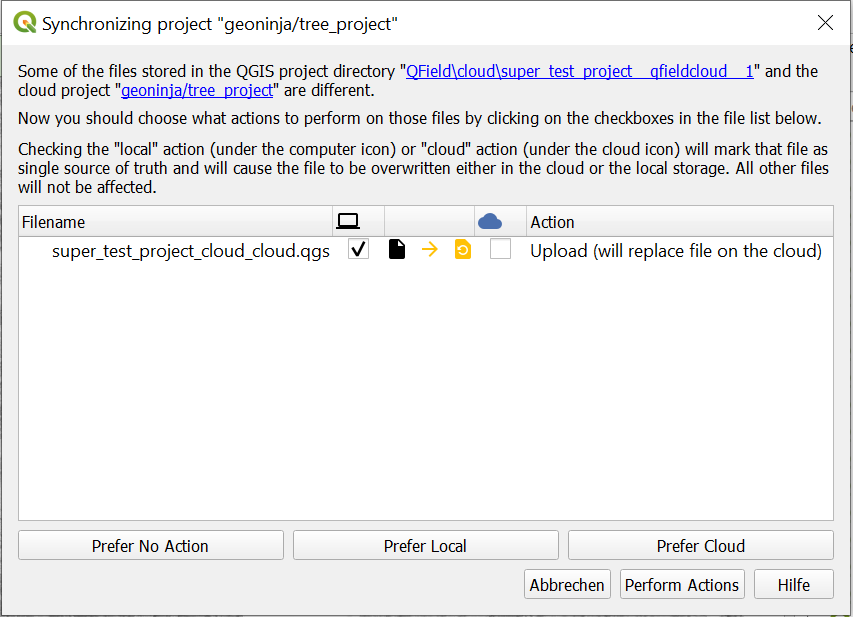
Una volta configurato, puoi premere il pulsante con la nuvola per aprire il dialogo di sincronizzazione. Qui devi decidere cosa preferisci: il file locale o il file sul cloud.

Sincronizza
Sincronizza

Adesso dovresti vedere il tuo progetto e i tuoi file su QFieldCloud

Activate Notifications for QFieldCloud changes

  1. Access the Settings of your account.
  2. Navigate to the Notifications section. Here, you can customize the frequency of notifications you wish to receive at the email address registered with your account.Synchronize

    The events you get notified about are: - User created - Organization created - Organization deleted - Organization membership created - Organization membership deleted - Team created - Team deleted - Team membership created - Team membership deleted - Project created - Project deleted - Project membership created - Project membership deleted

You will receive notifications for events in which you are not the actor. These notifications are specifically for events that are initiated by other members of your organization or collaborators on your projects.

Enhance your project with the "Optimized Packager"

We recommend to use the new "Optimized Packager" over the deprecated "QGIS Core Offline Editing" for all your projects. Set the packager under "Packaging Offliner" in the "Settings" tab of your project.

The "Optimized Packager" supports consolidating filtered layers of same datasource into a single oflline layer, respecting distinct symbology but also using less storage. Here is an example to illustrate this feature:

Example Configuration:

  • Layer 1.1:
  • Data Source: layers.gpkg
  • Table: layer1
  • Filter: id % 2 = 1

  • Layer 1.2:

  • Data Source: layers.gpkg
  • Table: layer1
  • Filter: id % 2 = 0

Result:

For the new offliner: - A single layer is generated in the offline geopackage, combining data from layer1 with the specified filters.

For the old (QGIS) offliner: - Two separate layers are created, each representing the filtered datasets: - Layer 1: Filtered with id % 2 = 1 - Layer 2: Filtered with id % 2 = 0

Dispositivo mobile

Lavoro sul campo

Installa QField

Scarica e installa l'ultima versione di QField nel play store. Vai in fondo alla pagina e abilita beta testing. Non usare questa versione in produzione!

Note

Visto che QField 2.0 è ancora in fase beta, possono esserci frequenti aggiornamenti e correzioni. Per favore aggiorna QField almeno settimanalmente. In caso di problemi, prova ad aggiornare all'ultima versione prima di segnalare il problema.

Comincia a lavorare sul tuo progetto.

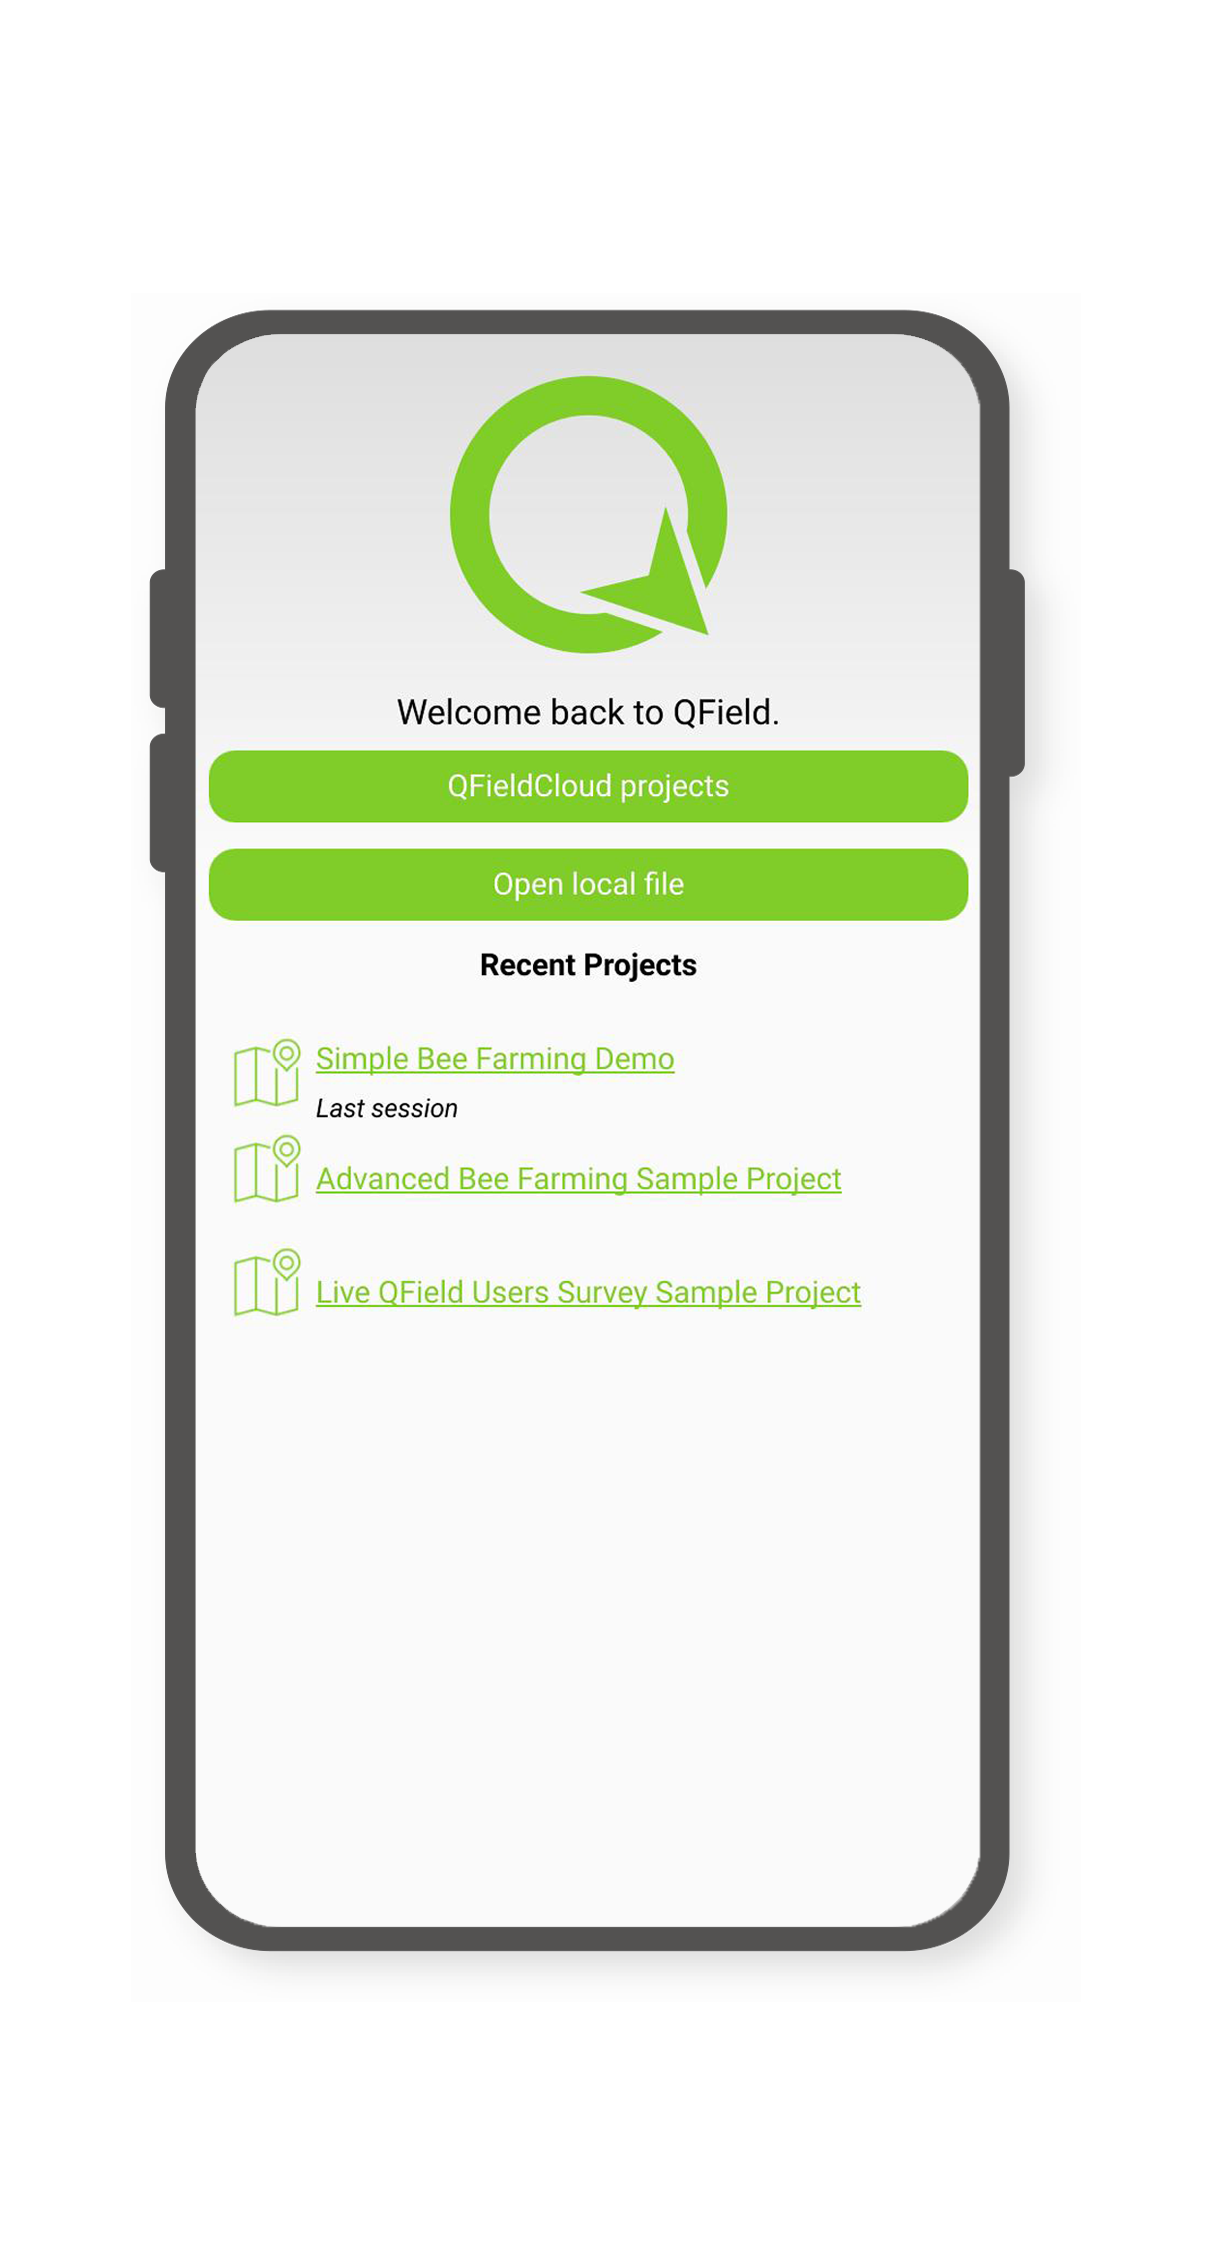
Benvenuto
Benvenuto

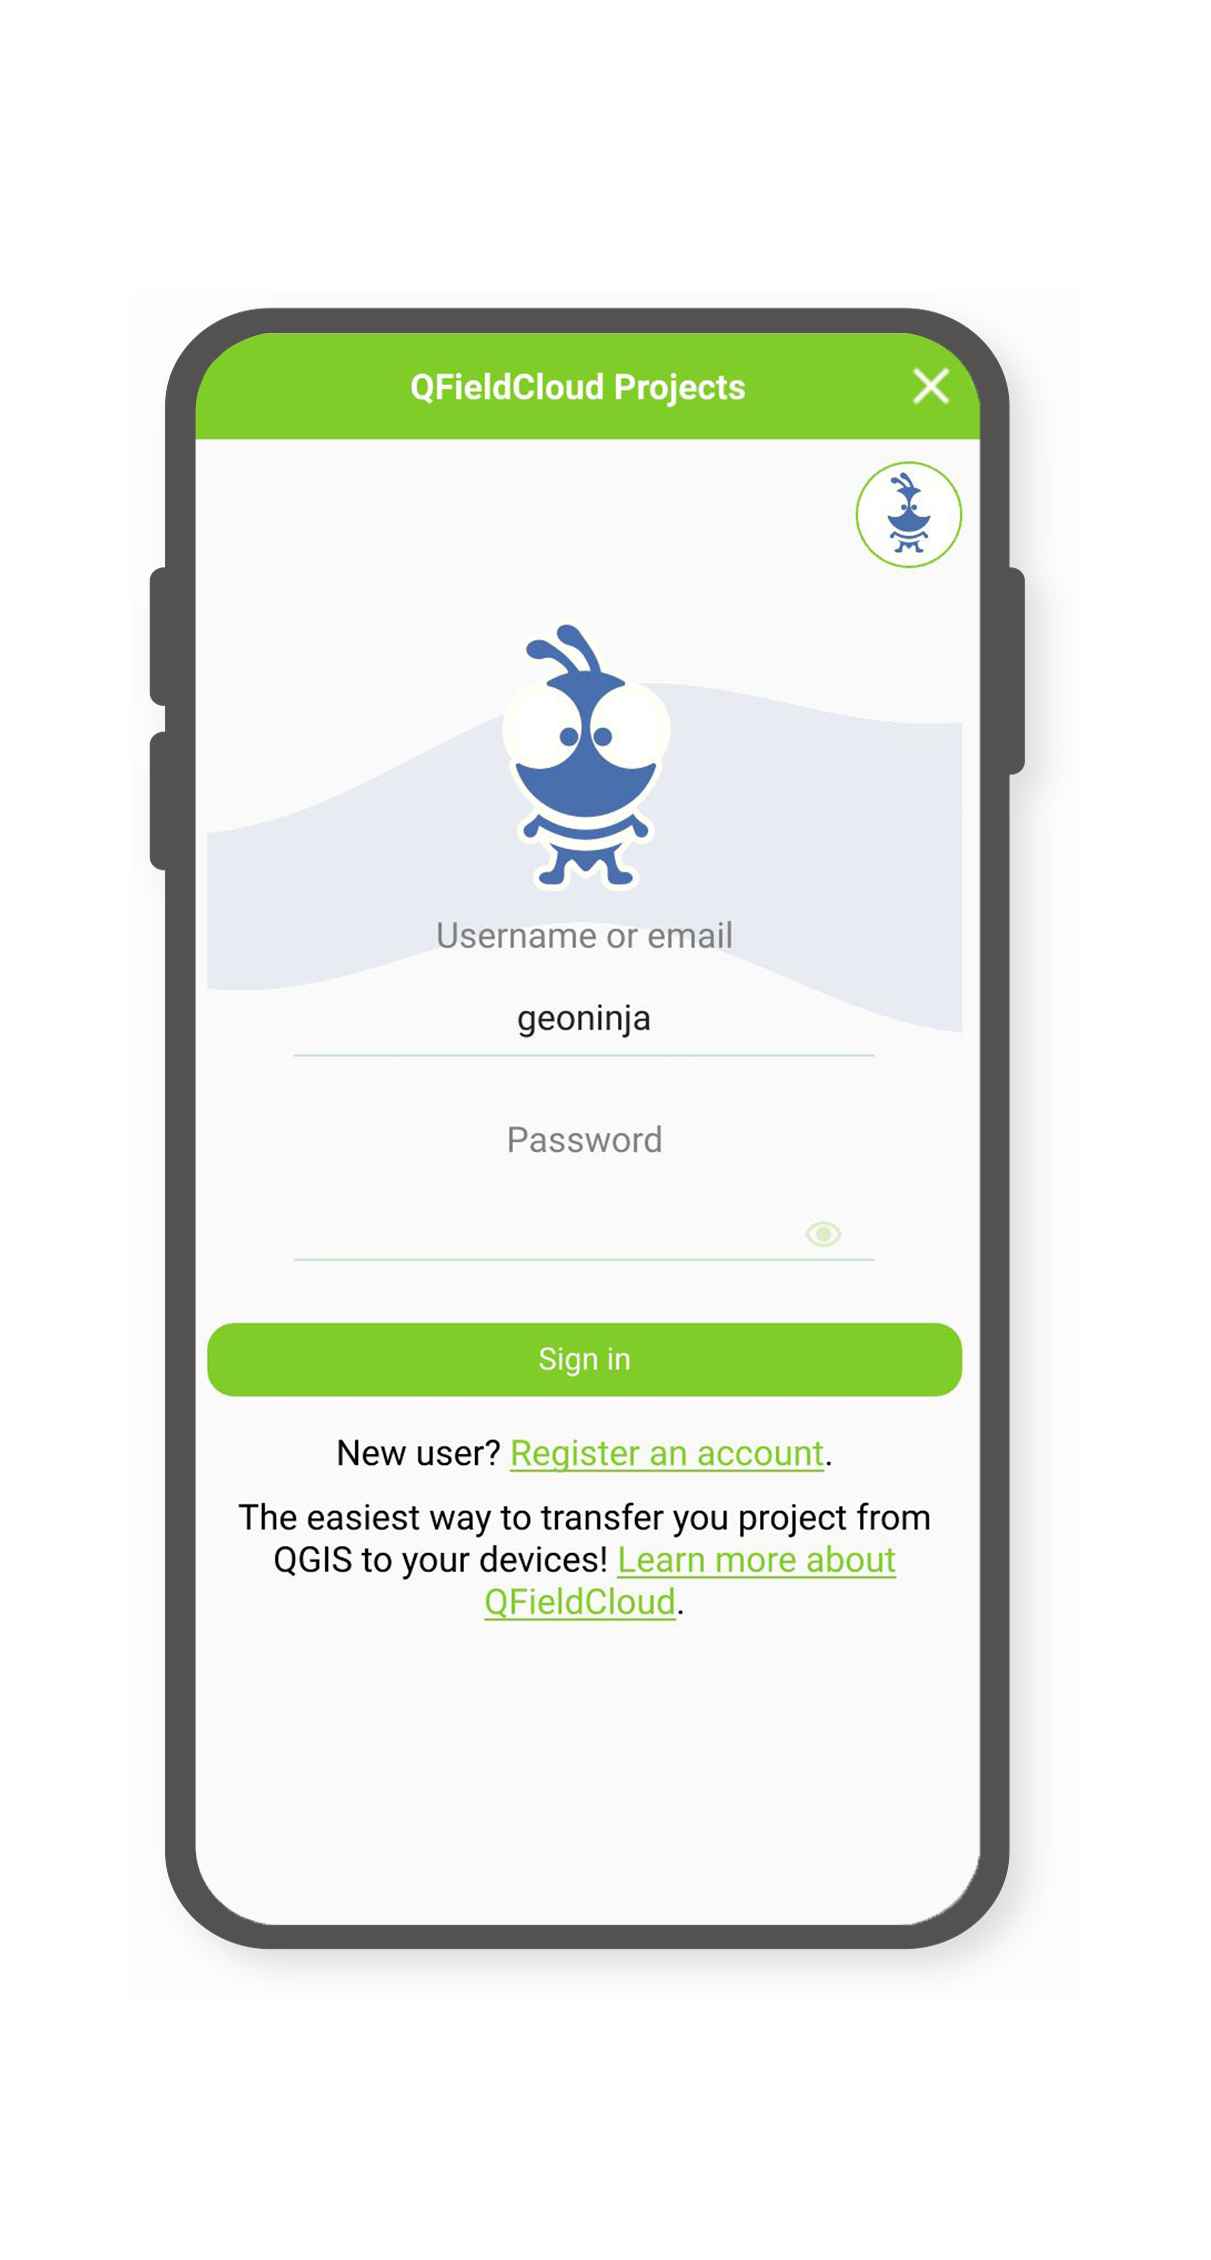
Login con il tuo username e password

Login
Login

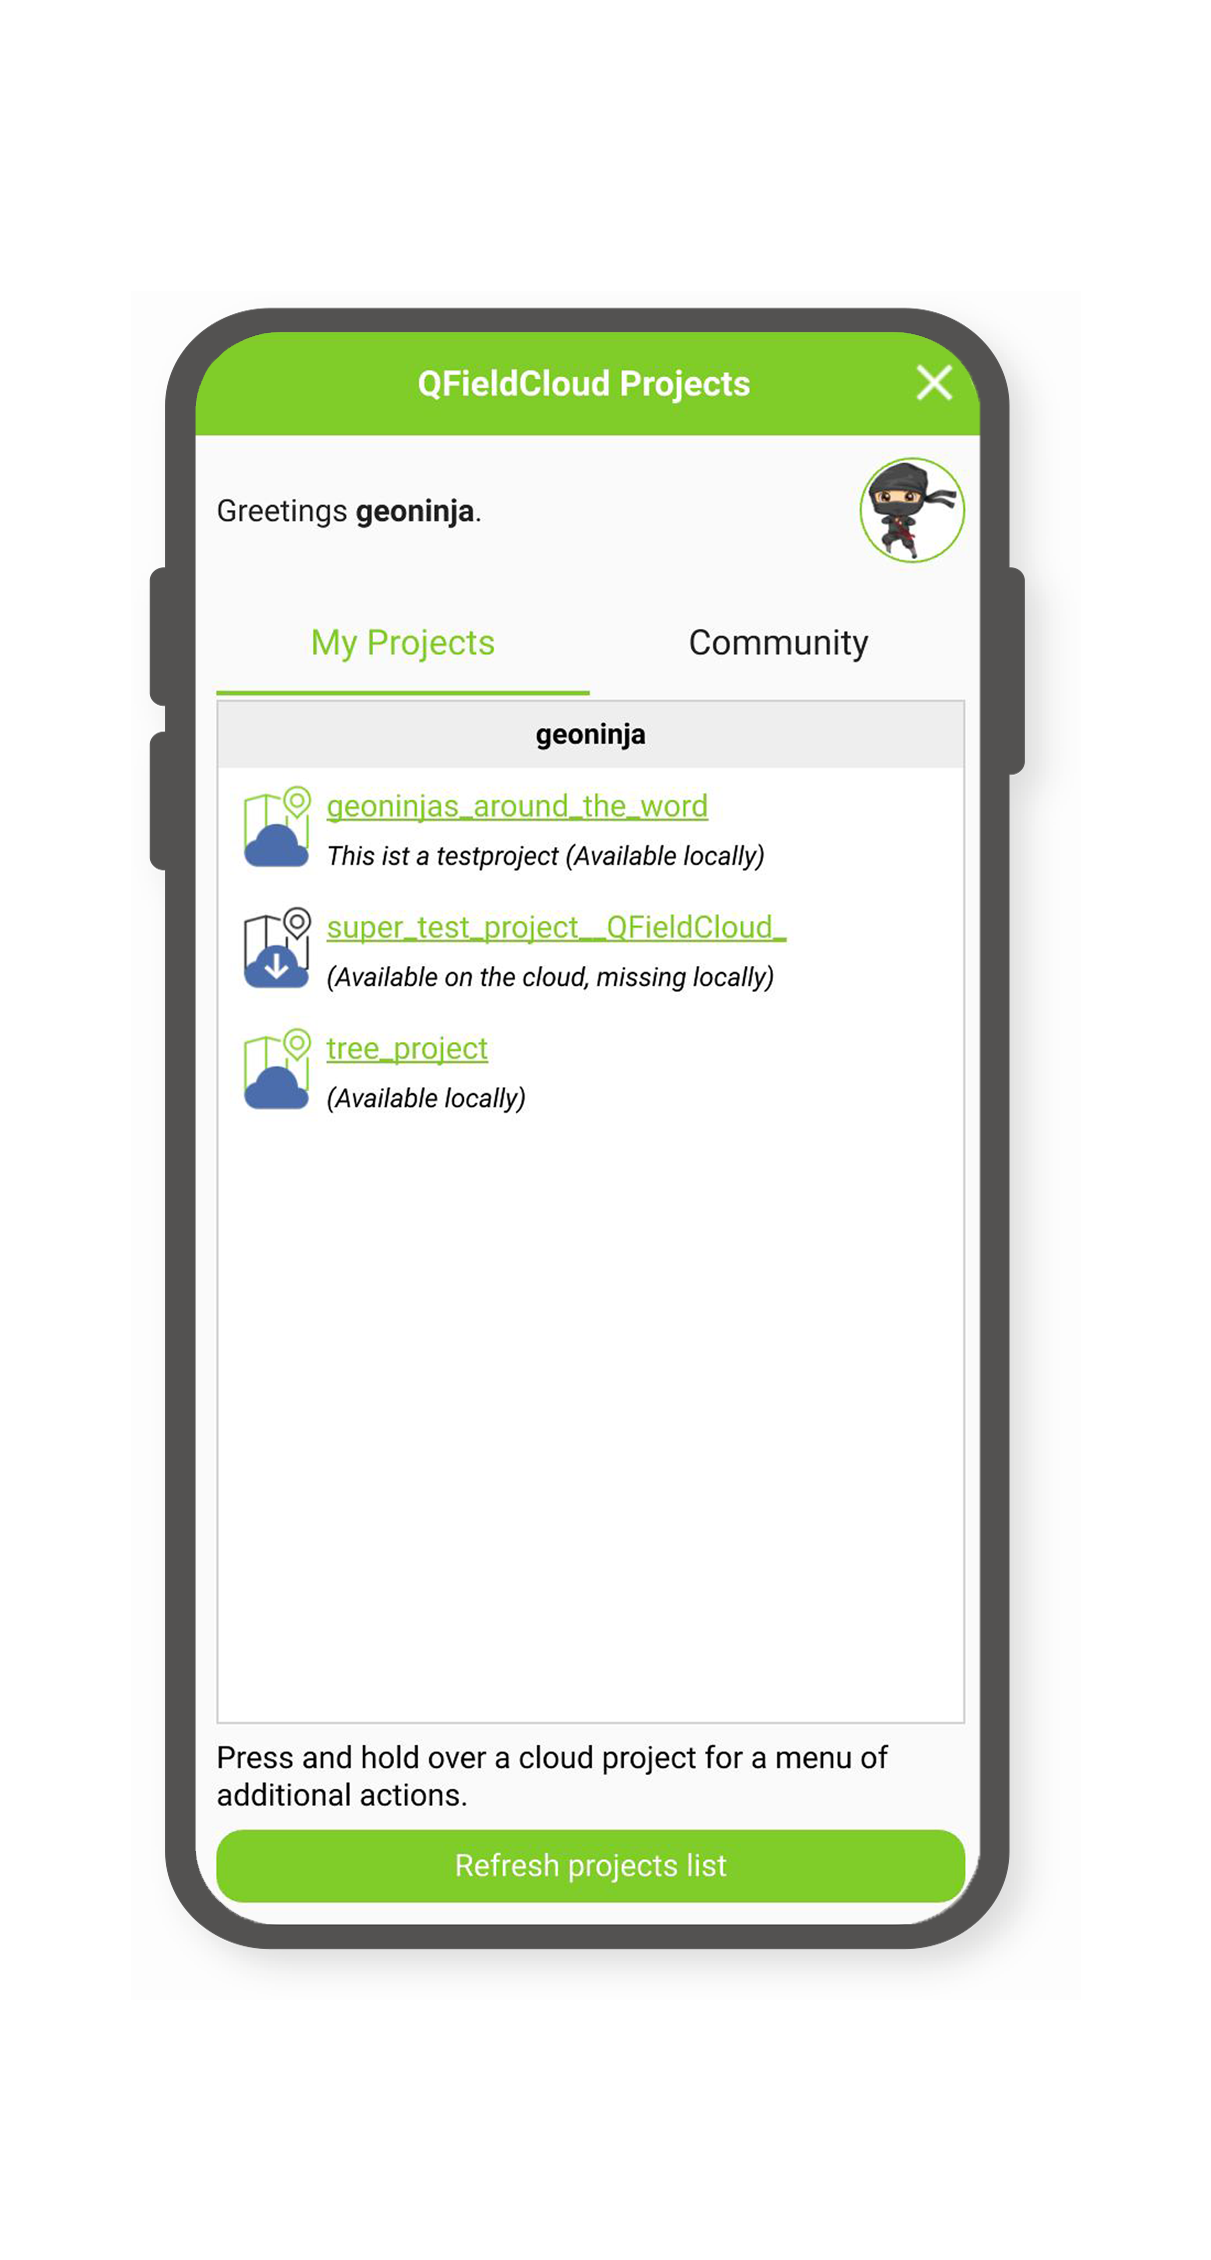
Scegli un progetto da scaricare sul tuo dispositivo:

Download
Download

Sincronizza le modifiche

Fai una modifica al tuo progetto. Puoi creare un nuovo elemento, cancellare un elemento o modificare la geometria o gli attributi. Premi sul pulsante con la nuvola blu nella parte superiore sinistra dello schermo:

Pulsante Cloud
Pulsante Cloud

Scegli un'azione con le modifiche che hai fatto al progetto. Ogni azione ha una spiegazione di cosa puoi aspettarti succeda:

Azioni
Azioni

Le tue modifiche sono adesso disponibili a chiunque abbia accesso al tuo progetto sul cloud.

You can find more information on Advanced QFieldCloud setup and QFieldCloud technical reference.