QFieldCloud is the cloud service that allows seamless synchronization of your data between your mobile device for fieldwork and your desktop workstation.
You can manage teams, work in organizations, assign different editing permissions, and much more.
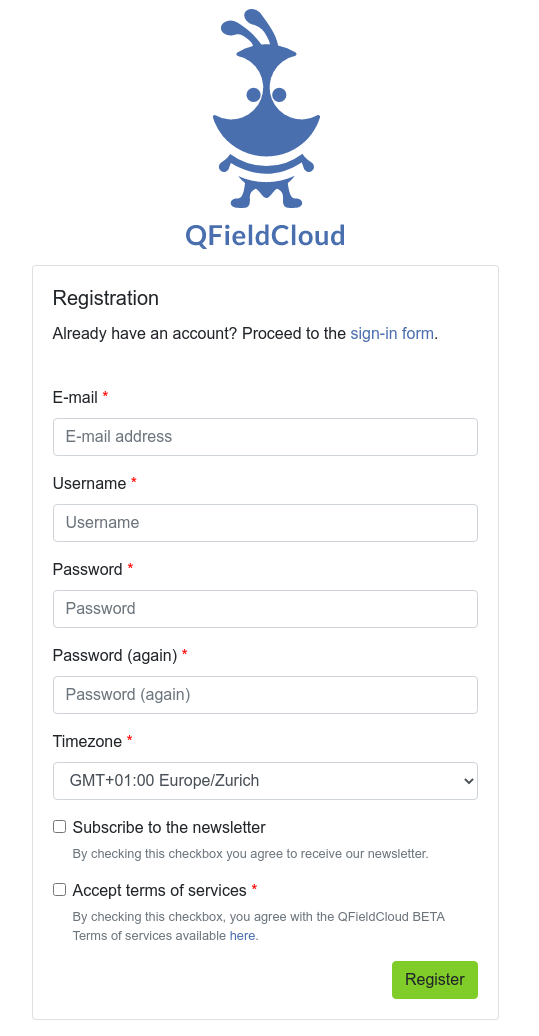
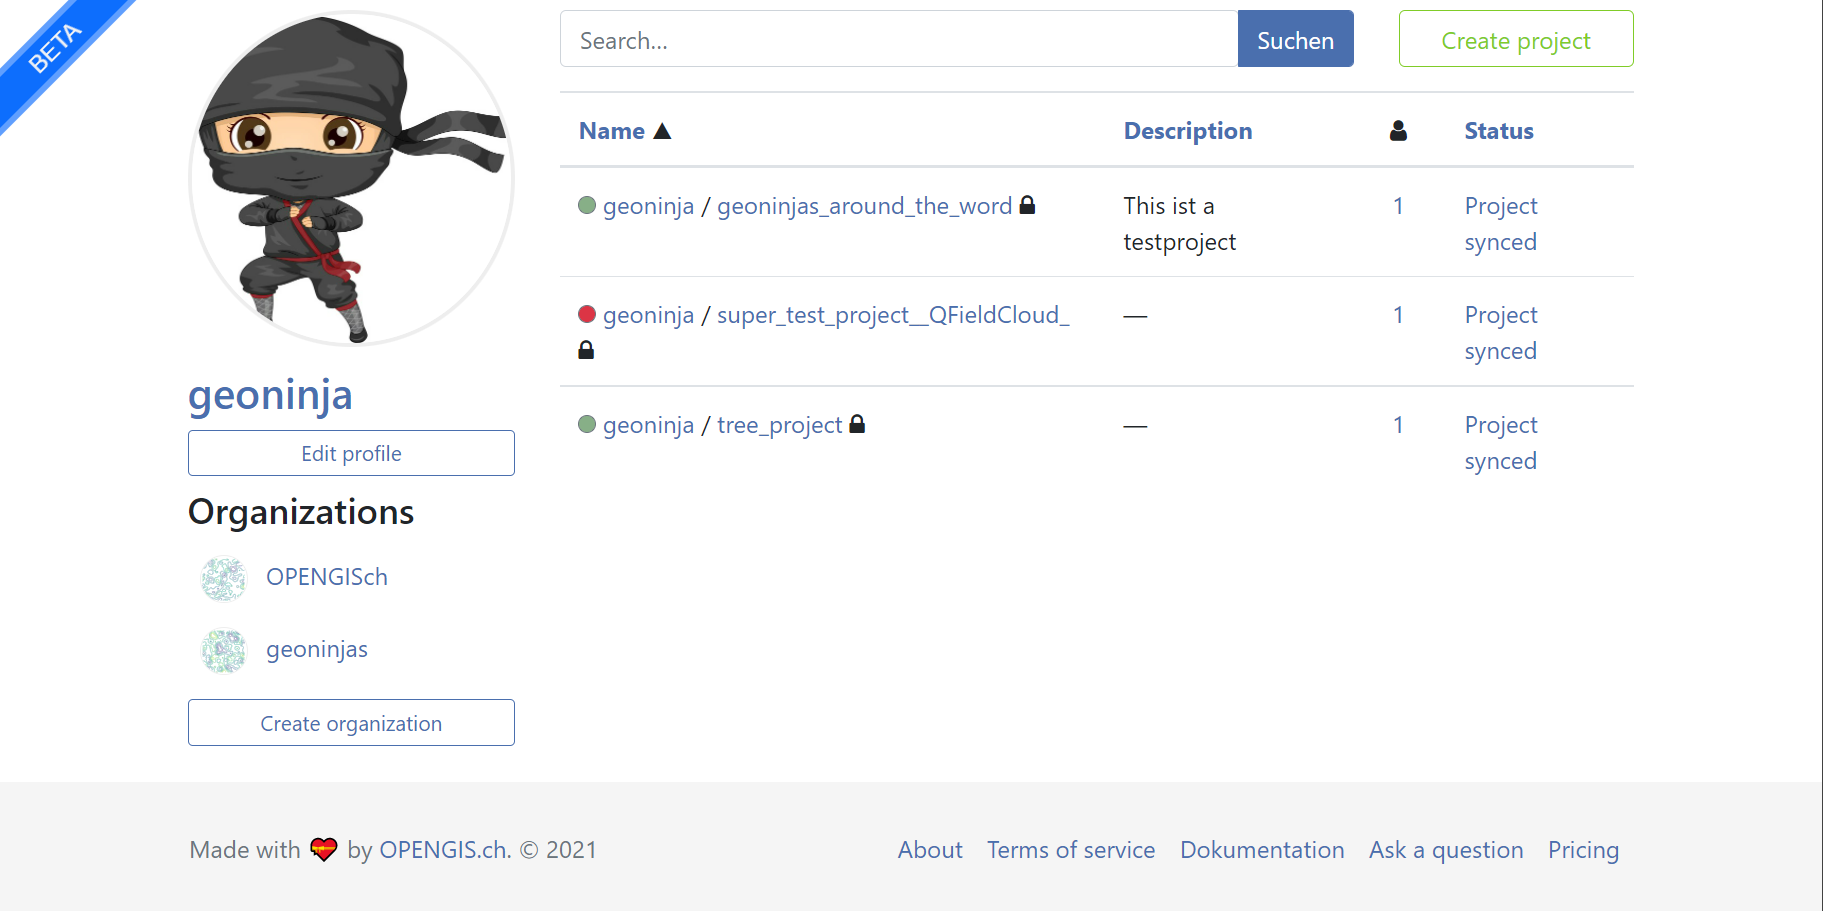
Once registered, your personal QFieldCloud landing page will show all the projects that you have access to in the center of the window.
In case that you have many projects, you can search in the search bar at the top of the page.
It is also possible to create a new empty project from this menu.
All further configuration of that project, however, needs to be done inside QGIS.
Under your profile name, you are able to edit and manage your account details and get an overview of what organizations you are a member of, as well as what collaborations you have.
Finally, if you have subscribed to a plan through QFieldCloud, you can manage it from here.
Before getting started, familiarize yourself with the basic concepts of QFieldCloud.
Tip
In the project overview page, the two names indicate the project "Owner" and the project "Name".
There are several ways to create and initialize a new project in QFieldCloud depending on your workflow.
You can convert an existing QGIS project, start from a blank template on the web, or clone an existing project.
In order to connect to QFieldCloud, you need the QFieldSync plugin in QGIS.
The following steps show how to install the plugin and synchronize your data to and from QFieldCloud.
Flujo
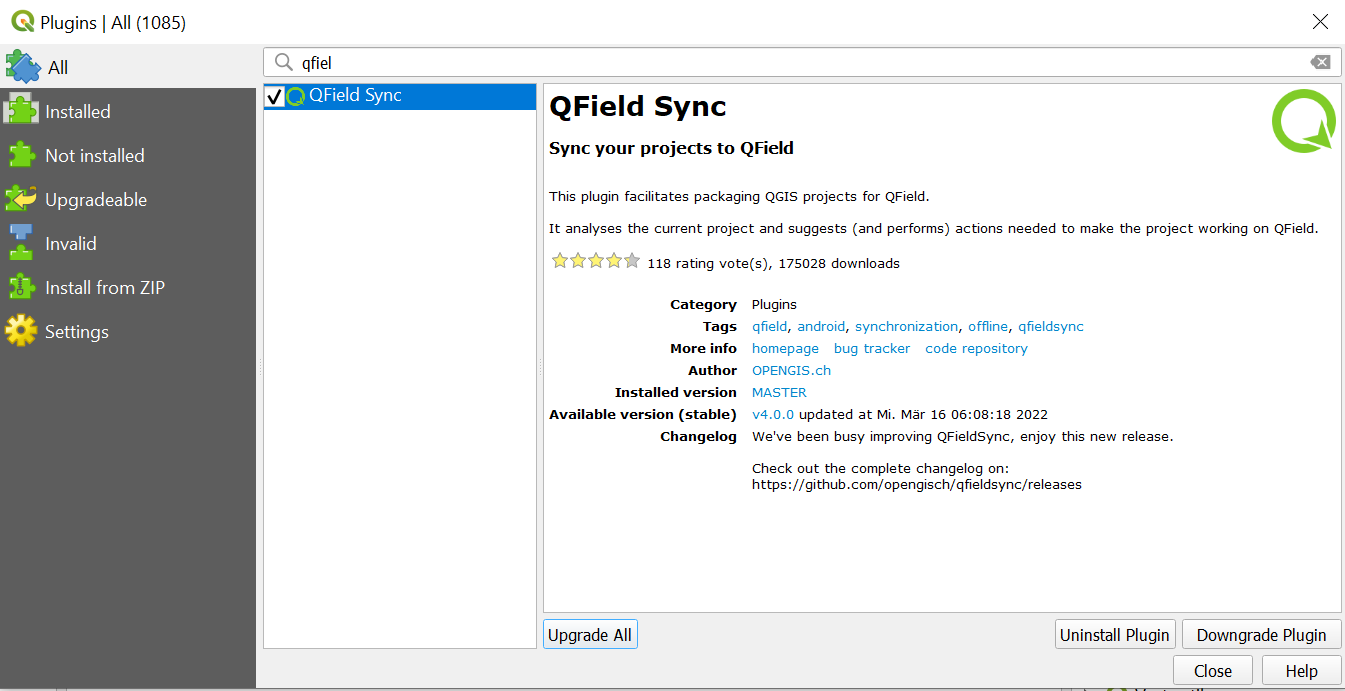
Open the QGIS plugin manager by navigating to Plugins > Manage and Install Plugins....
Under All, find QFieldSync in the list and install the latest version by clicking the Install Plugin button.
Successful installation
After a successful installation, a new toolbar appears:
Toolbar
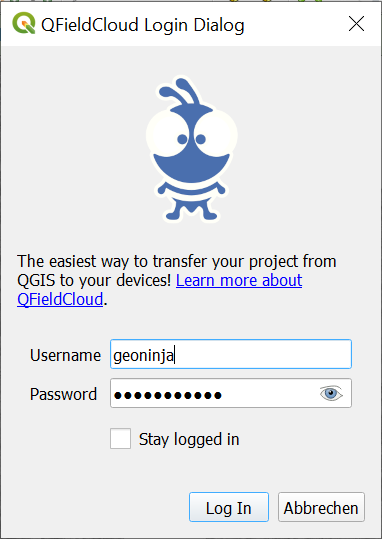
Click the cloud icon in the QFieldSync toolbar to display the login screen:
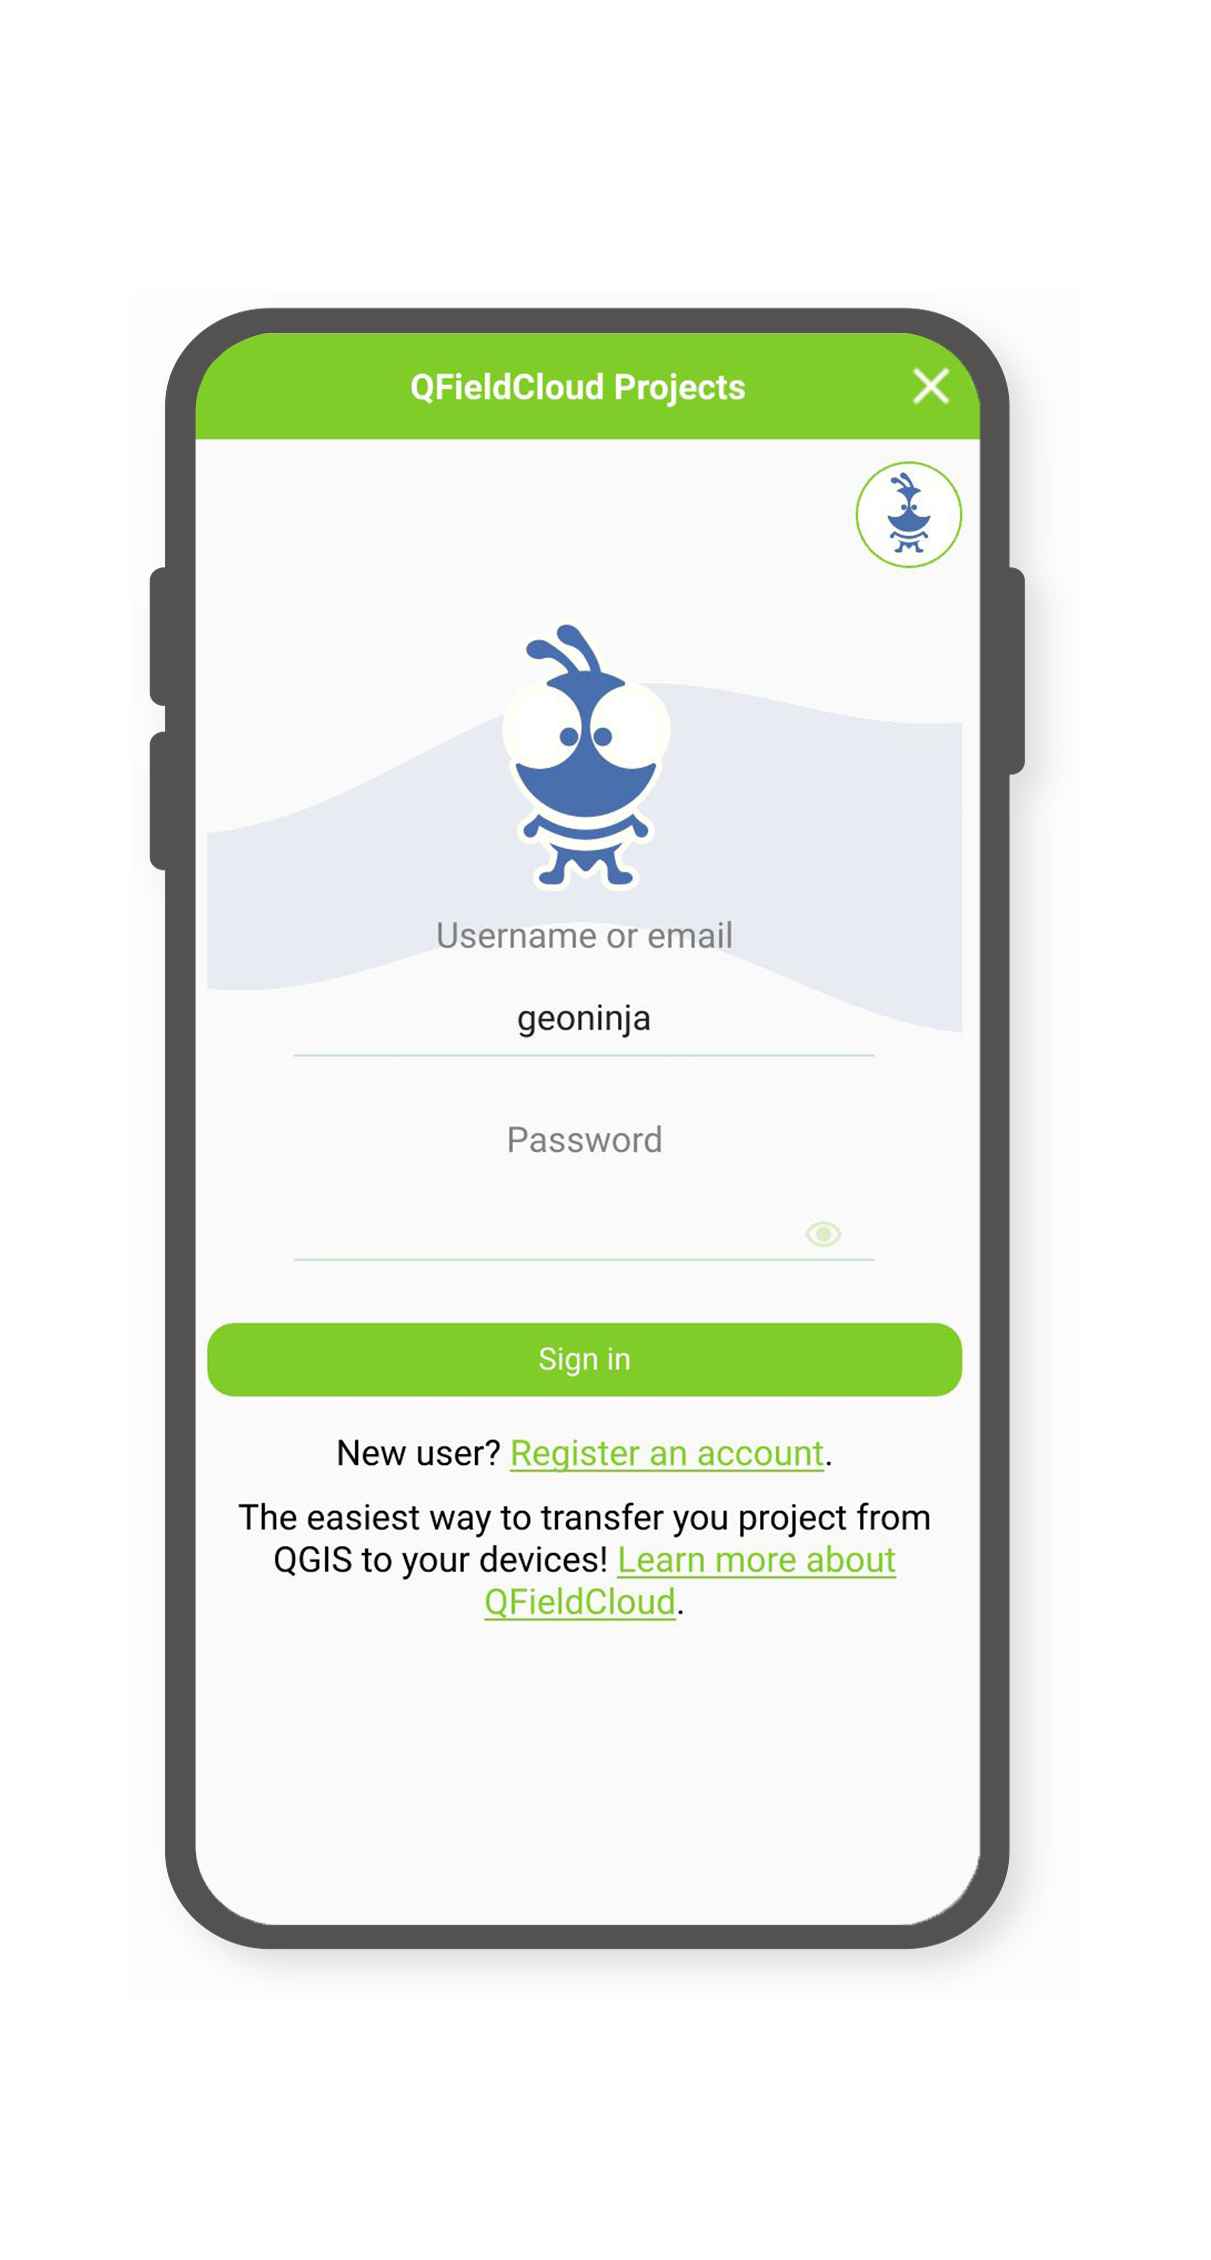
Enter your account credentials created during registration.
Warning
If you use a password in QGIS for the first time, QGIS prompts you to set a master password to manage all stored passwords.
Read more about the master password in the QGIS documentation.
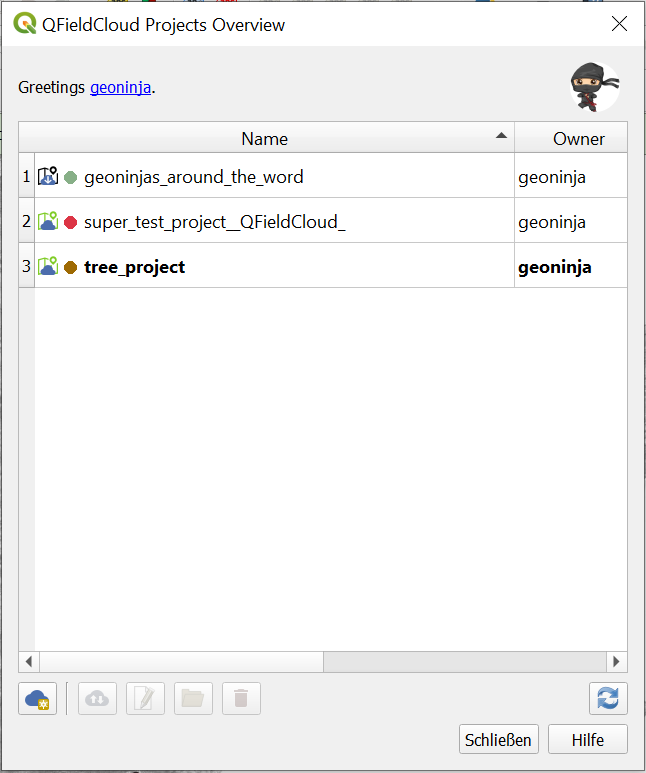
The project overview shows the projects that your account can access.
The screen contains the following elements:
Usuario actual subrayado en azul
Current user underlined in blue.
The avatar on the top right leading to the sign-out page.
A cloud button to create a new project.
A refresh button on the right to update your project overview.
Ejemplo de resumen de proyectos en QFieldSync
Newly registered users will see an empty table.
Double-click a project in the list to view and edit project properties.
Click on a project name in the list to view and edit project properties.
The icons indicate the cloud and local status of each project.
Local status:
Indicates that only a remote cloud project exists.
Indicates that the cloud project is also stored locally.
Cloud status: Three color-coded statuses display the current state of your cloud project.
A tooltip shows the status of each project.
Red Status: The project is invalid and not ready for field use.
The status message on your QFieldCloud landing page provides details to address the issue.
Estado marrón: El proyecto se encuentra actualmente en proceso de actualización o edición.
Green Status: The project is ready for field use.
You can download the project to QField.
After installing the QFieldSync plugin, a new section appears under Project > Properties....
Access these settings from the QFieldSync toolbar using the Settings icon.
You can access the settings from the QFieldSync toolbar using the Settings icon.
Configure the following parameters in these settings:
You can adjust the following parameters in these settings:
Define how project layers are treated in the cloud (see the QFieldSync Get Started Guide for details on Packaging Actions).
Specify the active layer for editing after selecting a Map Theme.
We recommend using GeoPackages, especially when collaborating in teams.
See the Advanced Setup Guide for more information about vector formats.
Important
If you use experimental data sources without a primary key field (such as Shapefiles or GeoJSON), you must include a lowercase fid field as a primary key to uniquely identify each feature.
Once configured, upload the project to QFieldCloud.
Flujo
Click the cloud icon with arrows in the QFieldSync toolbar.
Select your preferred upload method:
- The Local file: Replaces your cloud file with the new local version of the project.
When working with GeoPackages, the cloud file version is replaced by your local file version.
- The Cloud file: Amends your local datasets and replaces your local project file with the current cloud version.
When you are ready for fieldwork, set up QField on your mobile device.
Flujo
Fieldwork
Download and install the latest version of QField from the Google Play Store, Apple App Store, or download the latest release for Windows, Linux, or macOS.
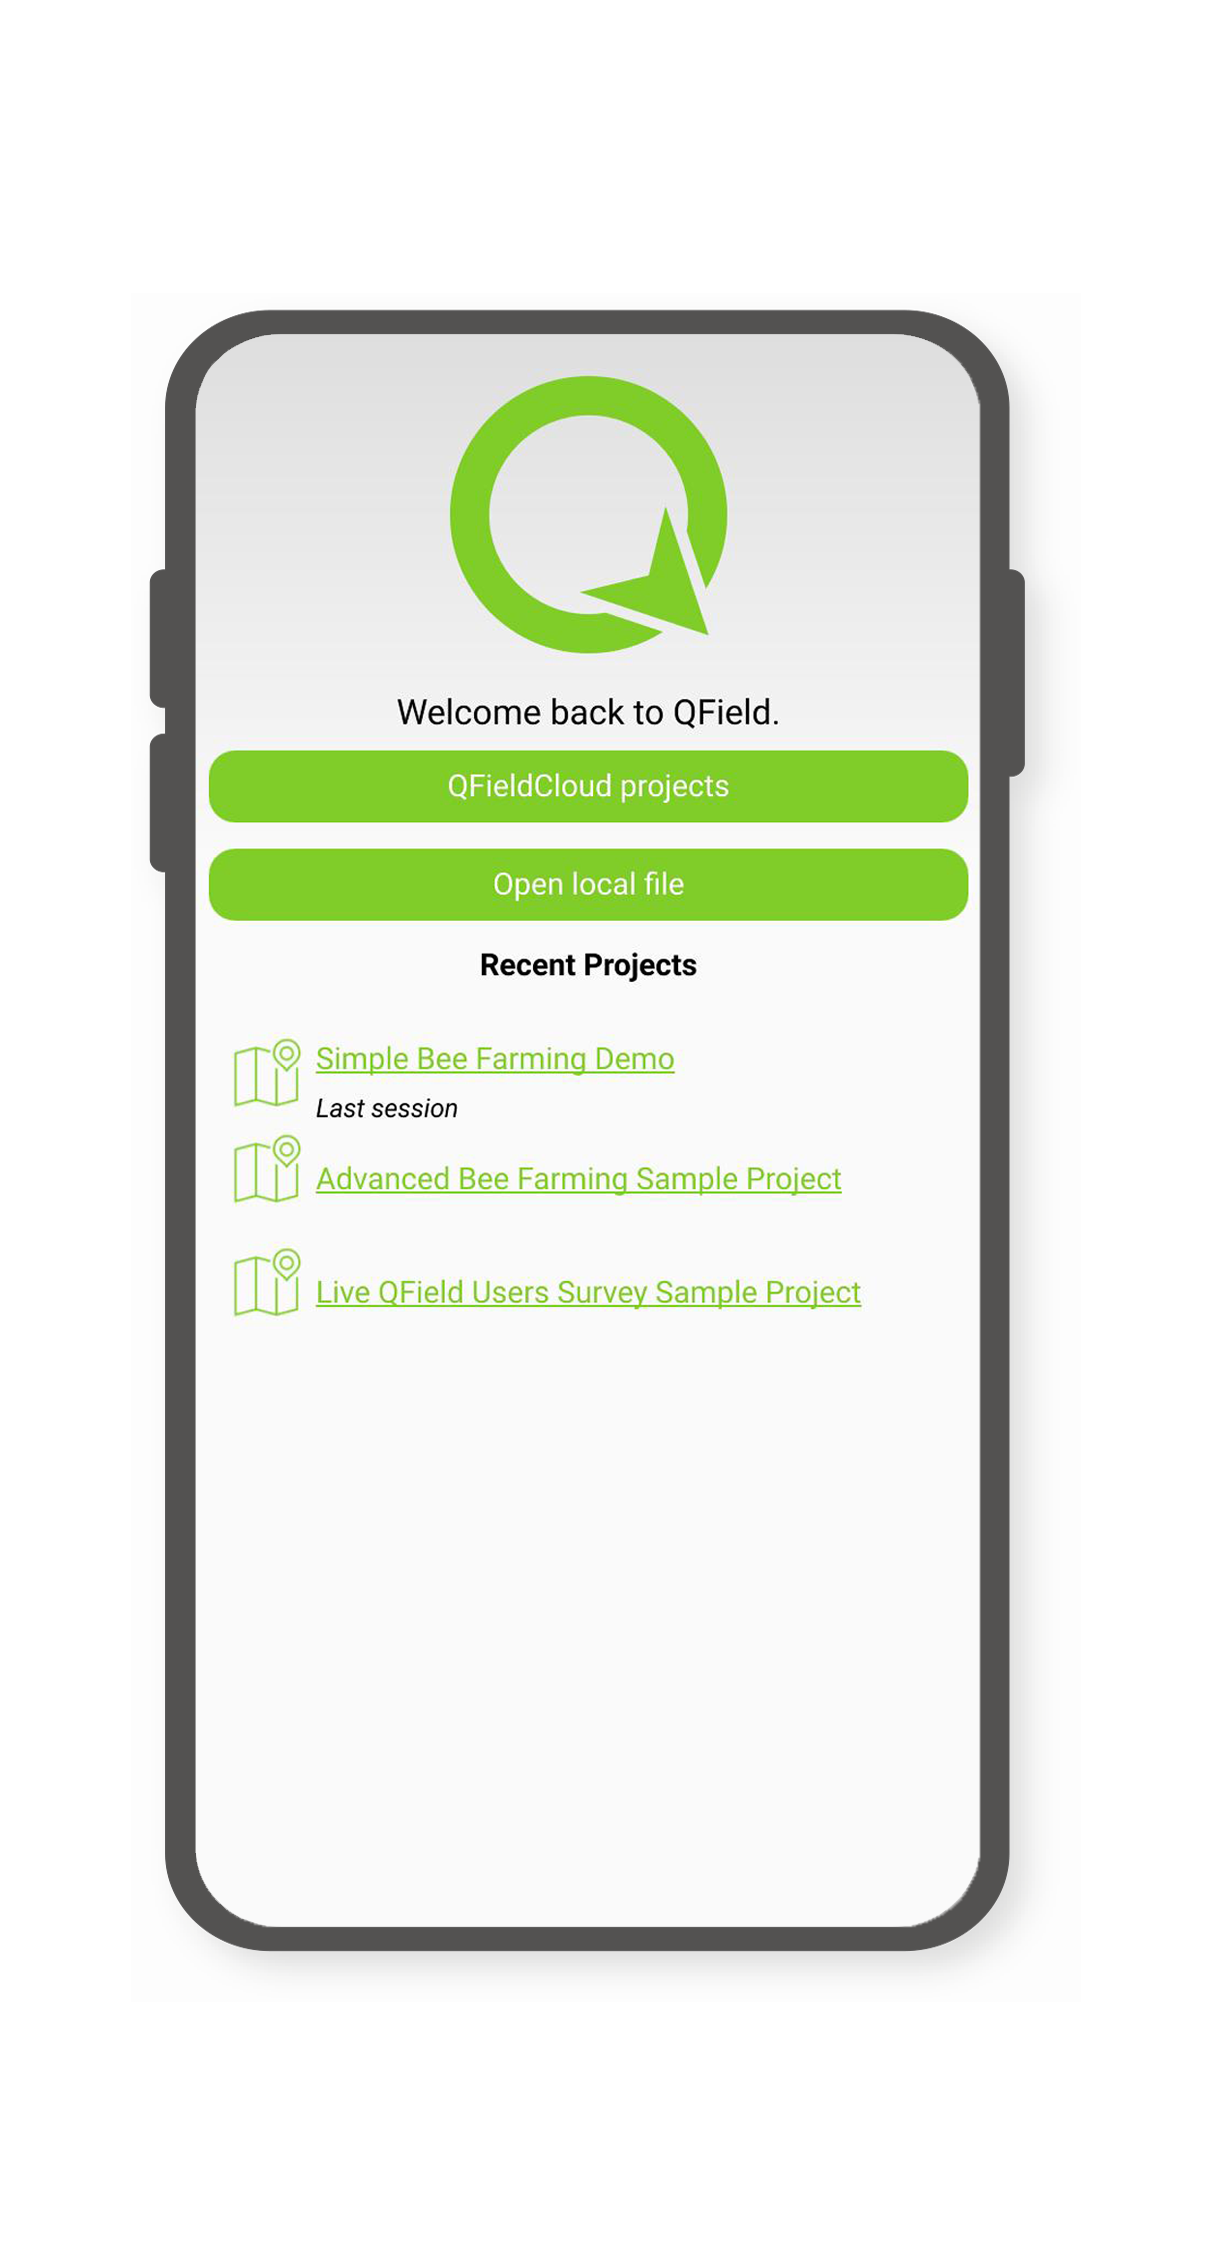
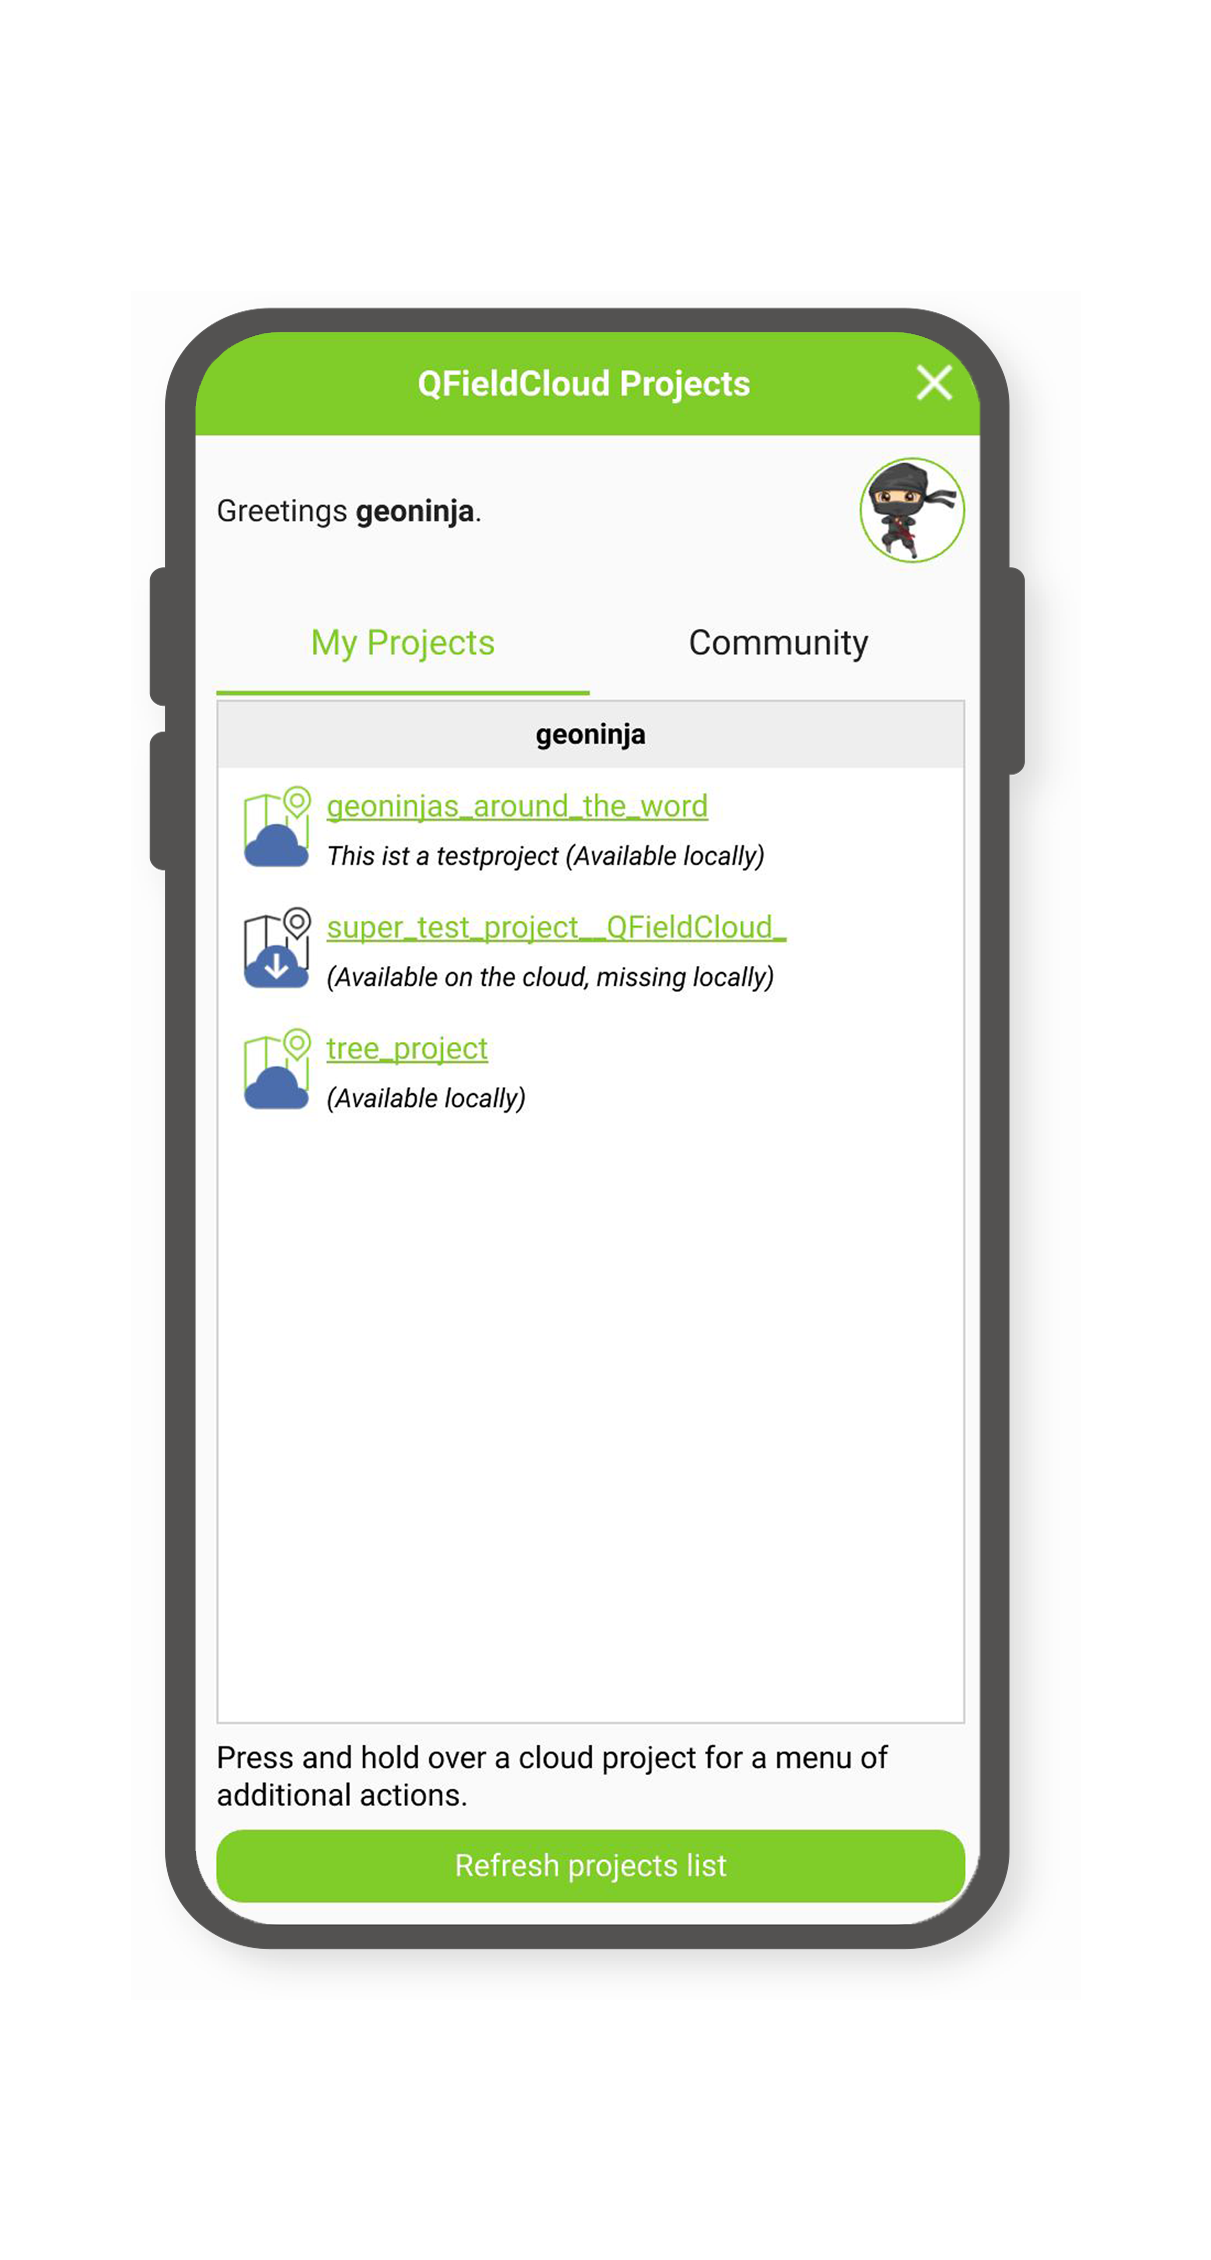
Navigate to Cloud Projects and log in to your QFieldCloud account on your mobile device.
WelcomeLogin
Tap a project to download it to your device.
Download
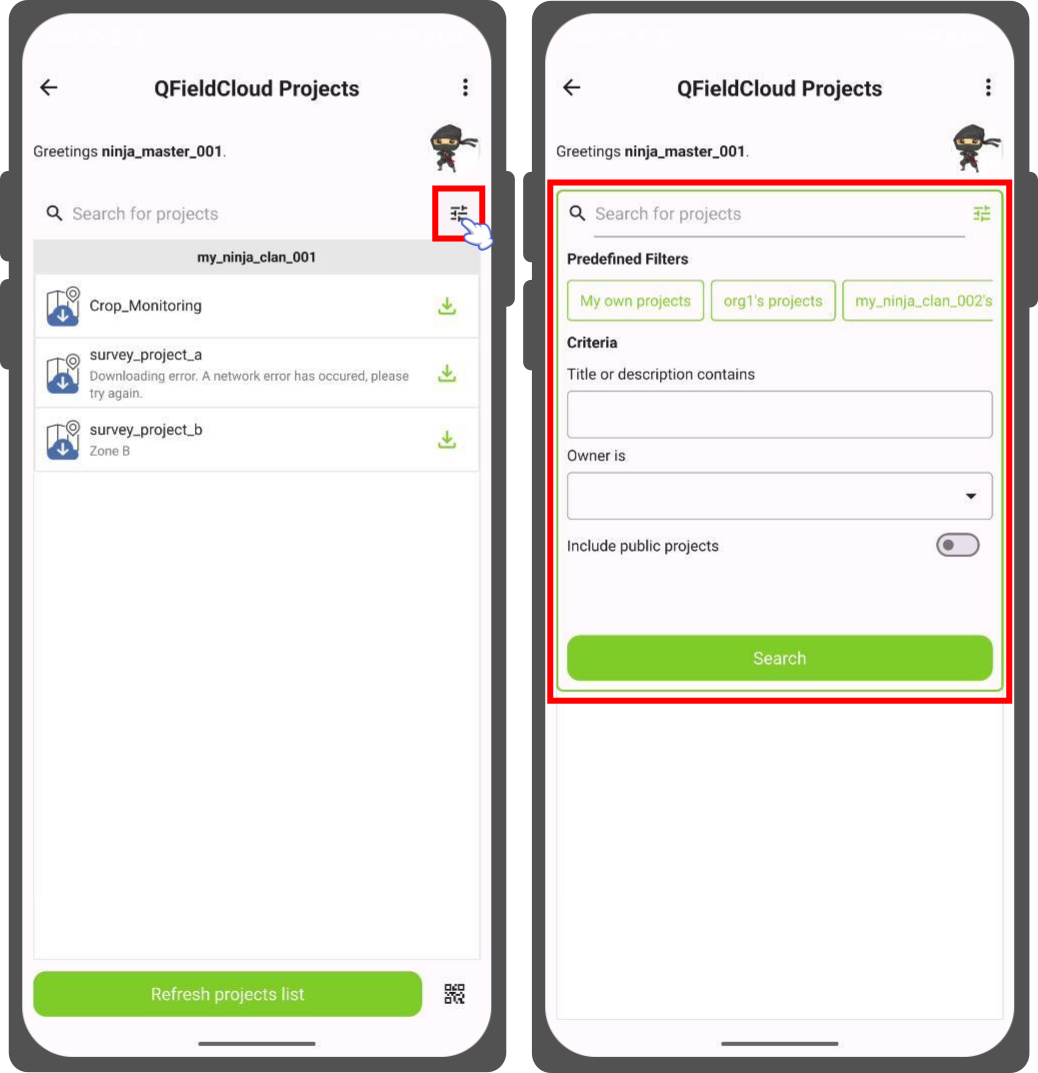
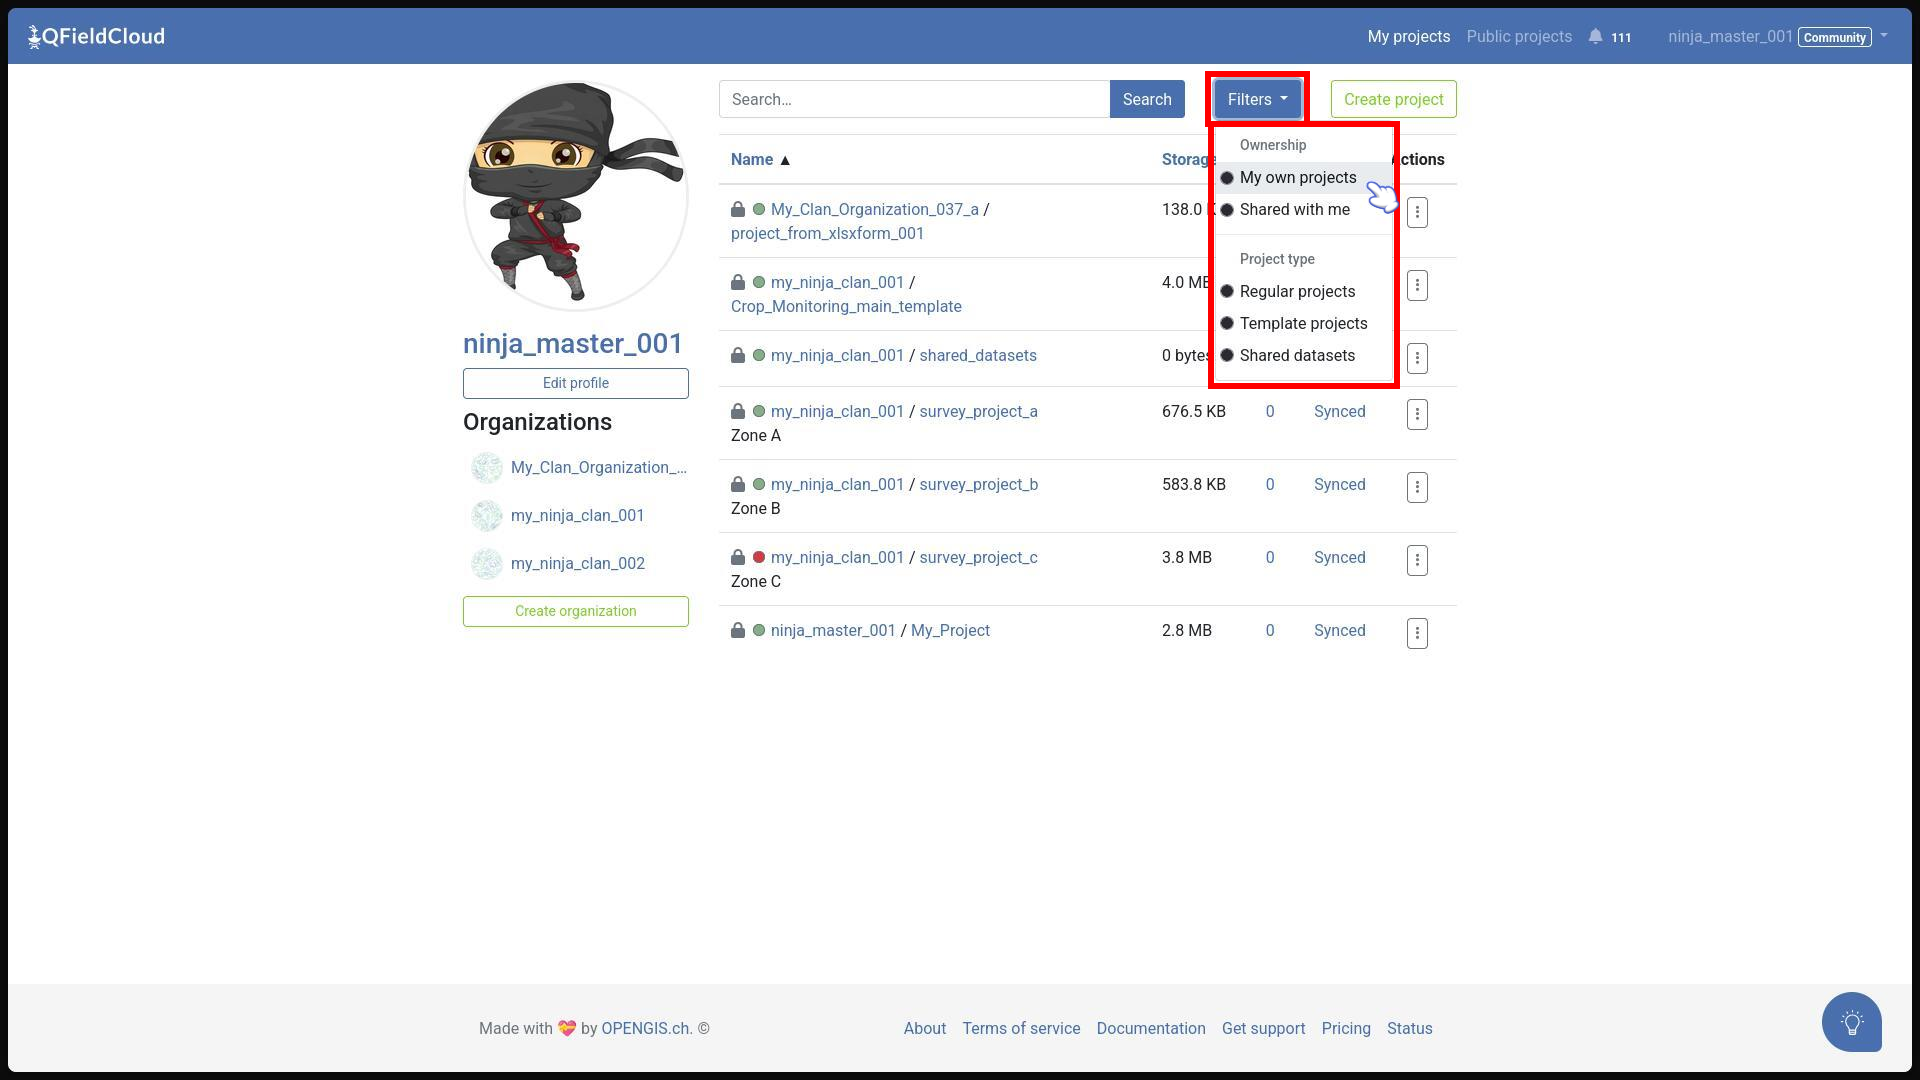
To manage a large number of projects, QField features a search-and-filter panel directly on the QFieldCloud projects screen.
The Filter button is located to the right of the project search bar.
Quick preset buttons appear at the top of the filter panel (such as My Own Projects or {org_name}'s projects).
Tapping a preset populates the criteria form and automatically filters the underlying list.
Fine-tune your project queries by filling out fields in the filter pane:
Search term: Selects every project title or description containing the provided term.
Owner: Displays a list of unique project owners available to your account in an editable dropdown menu.
Include public projects: Toggles community public projects on or off.
Note
Public projects are projects marked as public by any project owner.
Public projects are viewable by all QFieldCloud users.
if the project owner adds them as project collaborators.
You do not need an organization account to collaborate on public projects.
The main search bar allows users to type advanced filter parameters directly using key-value syntax.
Key parameters are dynamically recognized and highlighted inside the text input box.
Supported syntax tokens include:
owner:name — Filters the list to show projects belonging to a specific user or organization account name.
include:public — Forces public projects to be included in the query evaluation.
Example Query: Typing owner:My_Organization include:public Forestry into the search field isolates public projects matching the keyword "Forestry" owned by "My_Organization".
QField will indicate whether your project has changes locally that are not yet uploaded to QFieldCloud or a new version of your project is available on QFieldCloud.
Nota
To get notified about the project update on the cloud, you need to be online and logged in.
If a new version is available, you should synchronize your project as soon as possible.
There are two ways in which you can see whether your project is up-to-date with the version on QFieldCloud.
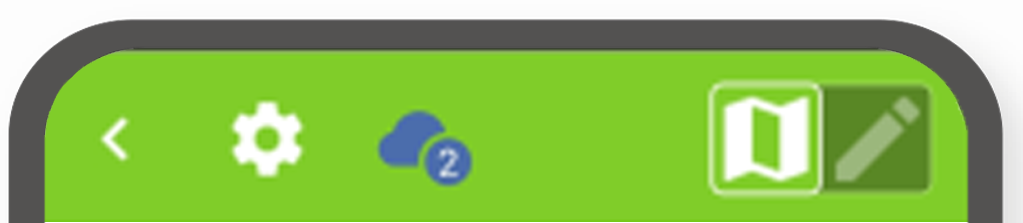
Cloud Icon Badge: A green bubble with an exclamation mark appears on the cloud button in the Side Dashboard.
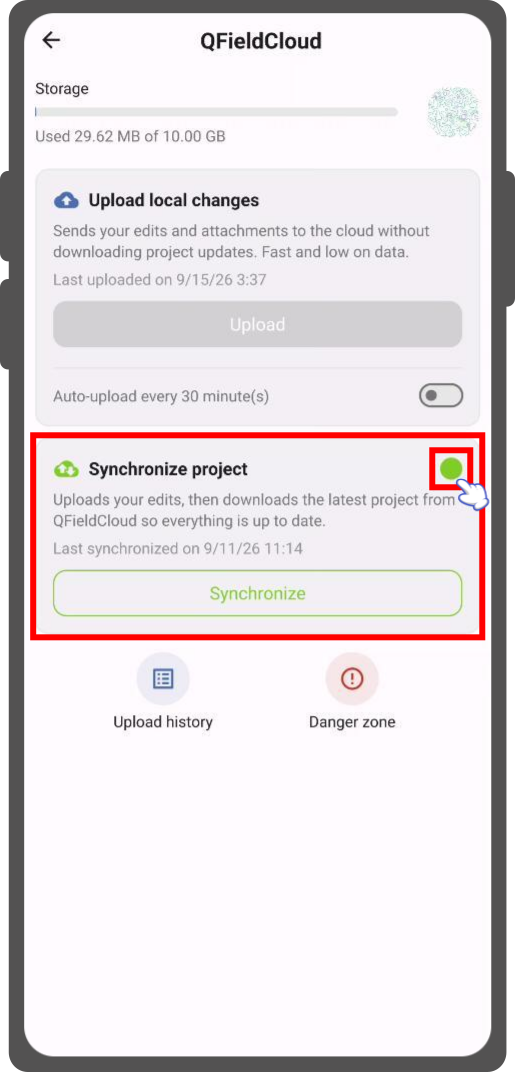
Synchronize Project Card Badge: A green badge appears on the right side of the Synchronize project section within the cloud synchronization.
After completing field data collection, synchronize your changes back to QFieldCloud.
Flujo
Open the Side Dashboard in QField.
Tap the cloud icon (a badge indicates your number of pending local changes).
Cloud button
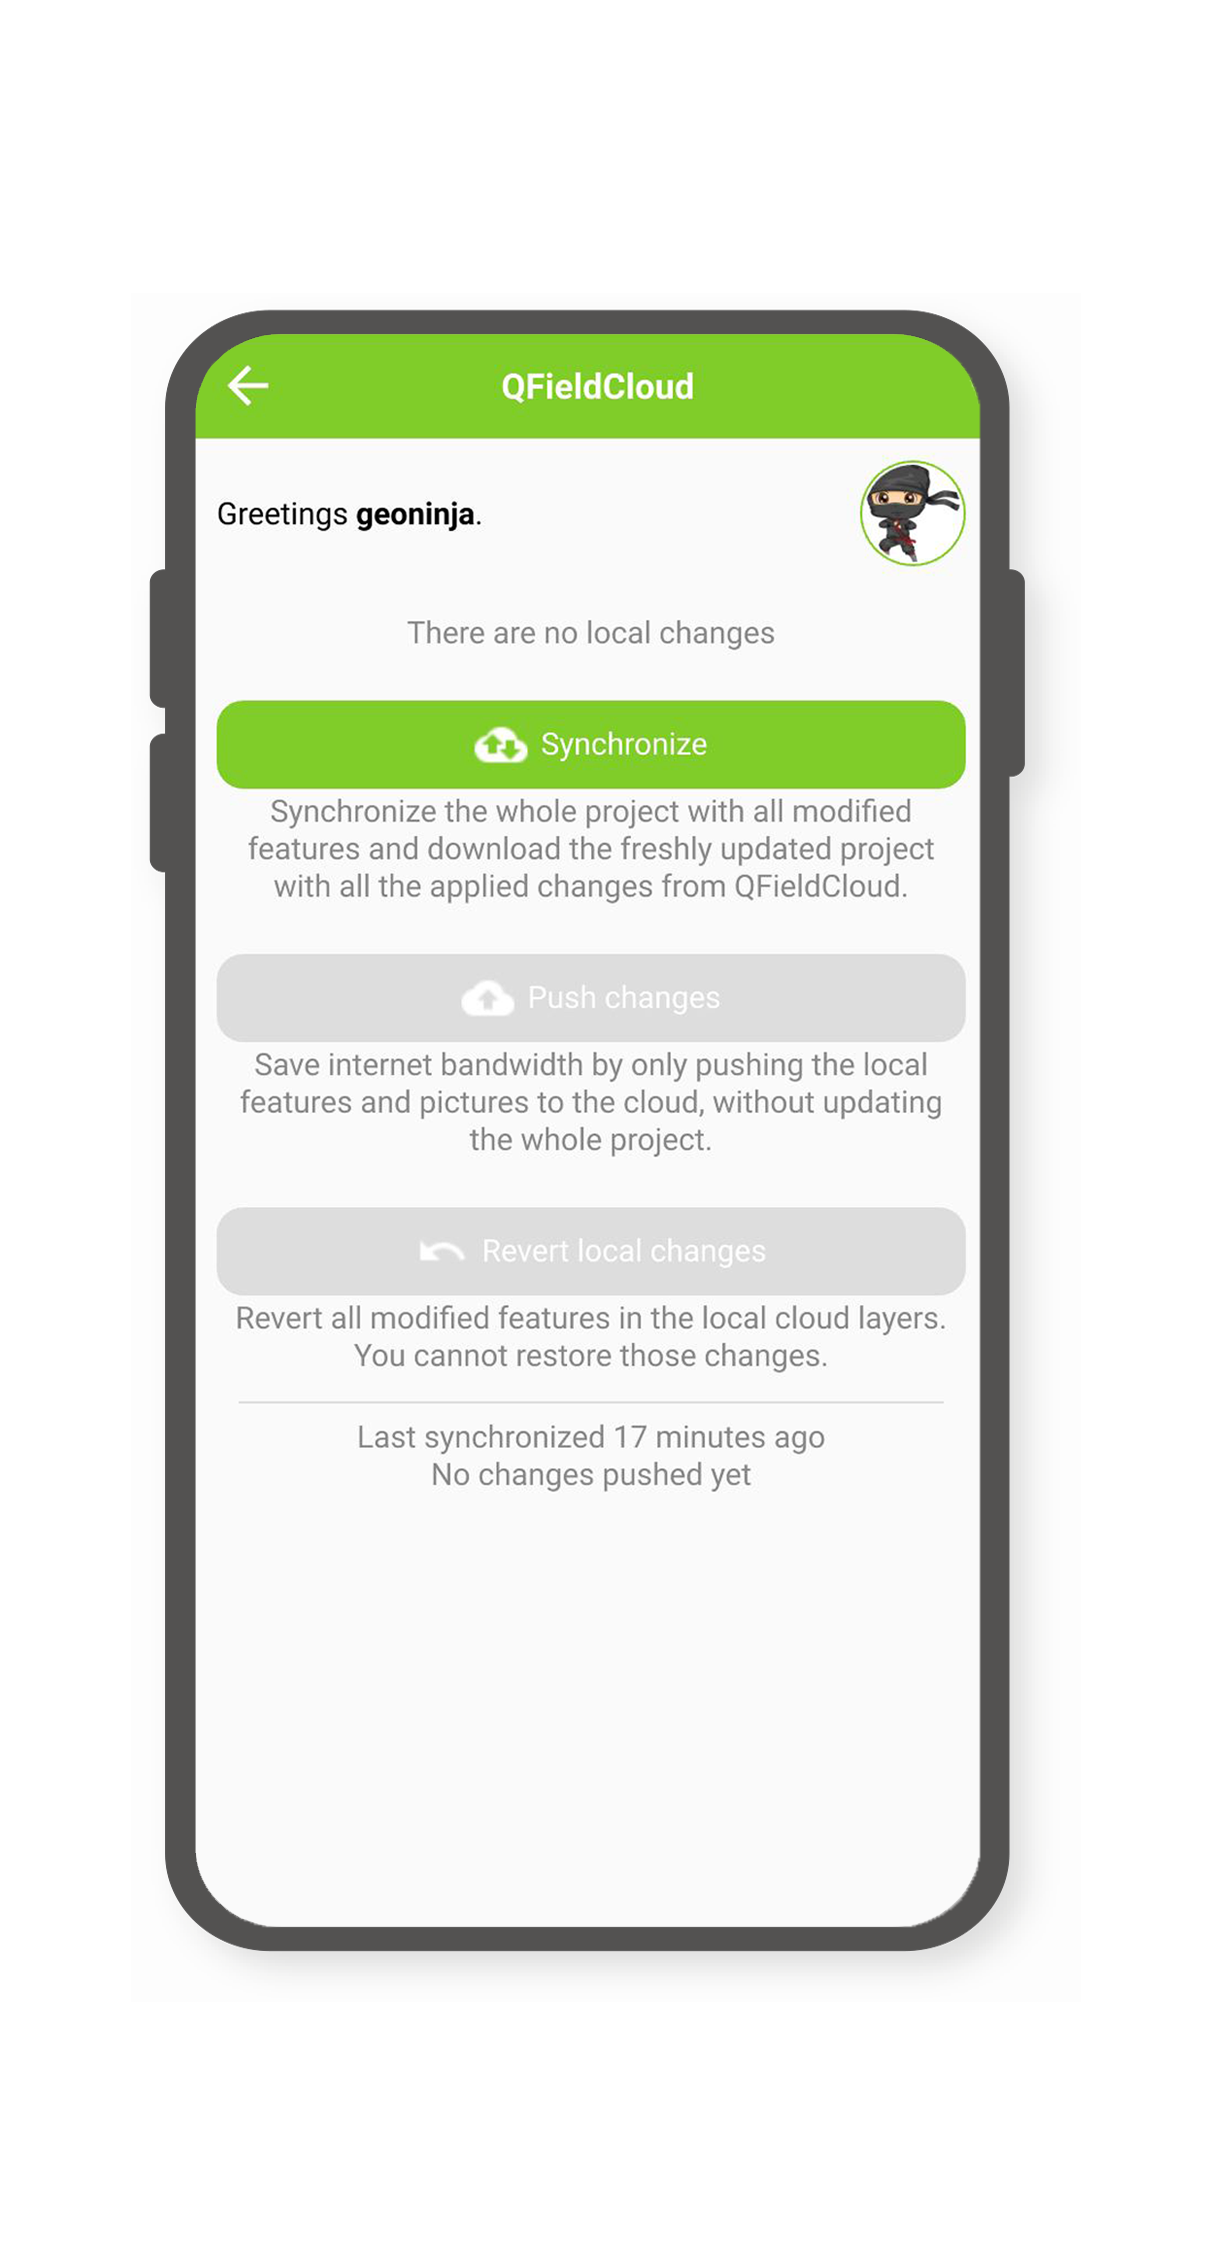
Upload local changes: Sends your edits and attachments to the cloud without downloading updates from other collaborators.
This option is fast and saves internet bandwidth.
Synchronize project: Uploads your local edits, then downloads the latest project version from QFieldCloud to keep everything up to date.
Upload history: Tap this button below the main action cards to view a log of past uploads, including timestamps and statuses (such as Applied, Pending, Conflict, or Error).
Danger zone: Tap this button to access options for discarding un-uploaded local changes or restoring the cloud version of the project.
Tap Discard local changes to remove un-uploaded local edits, or tap Reset project to re-download the cloud project if your local copy becomes corrupted.
Tap the appropriate action card for your data:
Your changes are now available to all users with project access on the cloud.

 in the QFieldSync toolbar to display the login screen:
 Indicates that only a remote cloud project exists.
 Indicates that the cloud project is also stored locally.
 using the Settings icon.
You can access the settings from the QFieldSync toolbar
using the Settings icon.
You can access the settings from the QFieldSync toolbar