Temporal Filtering
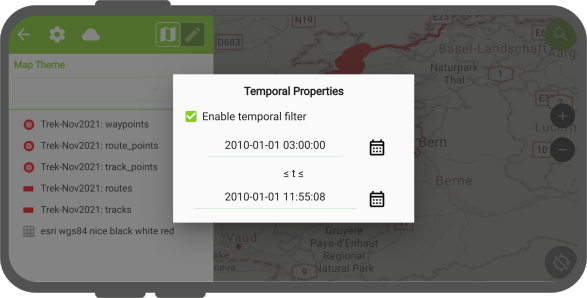
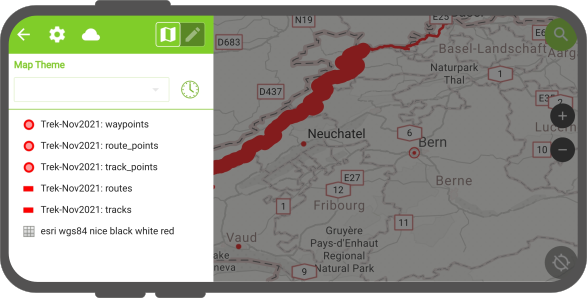
QField replicates active temporal controller settings configured in QGIS to dynamically filter vector layer features on the map canvas. Temporal filtering status displays via a clock icon in the Side Dashboard:
- Grey clock icon: Temporal filter is inactive.
- Green clock icon: Temporal filter is active, displaying only features falling within the defined time range.
Configuring Temporal Filtering in QGIS
Project Manager
Configure temporal settings on vector layers in QGIS before exporting projects to QField.
Workflow
- In QGIS, navigate to Vector Layer Properties... > Temporal.
- Enable Dynamic Temporal Control.
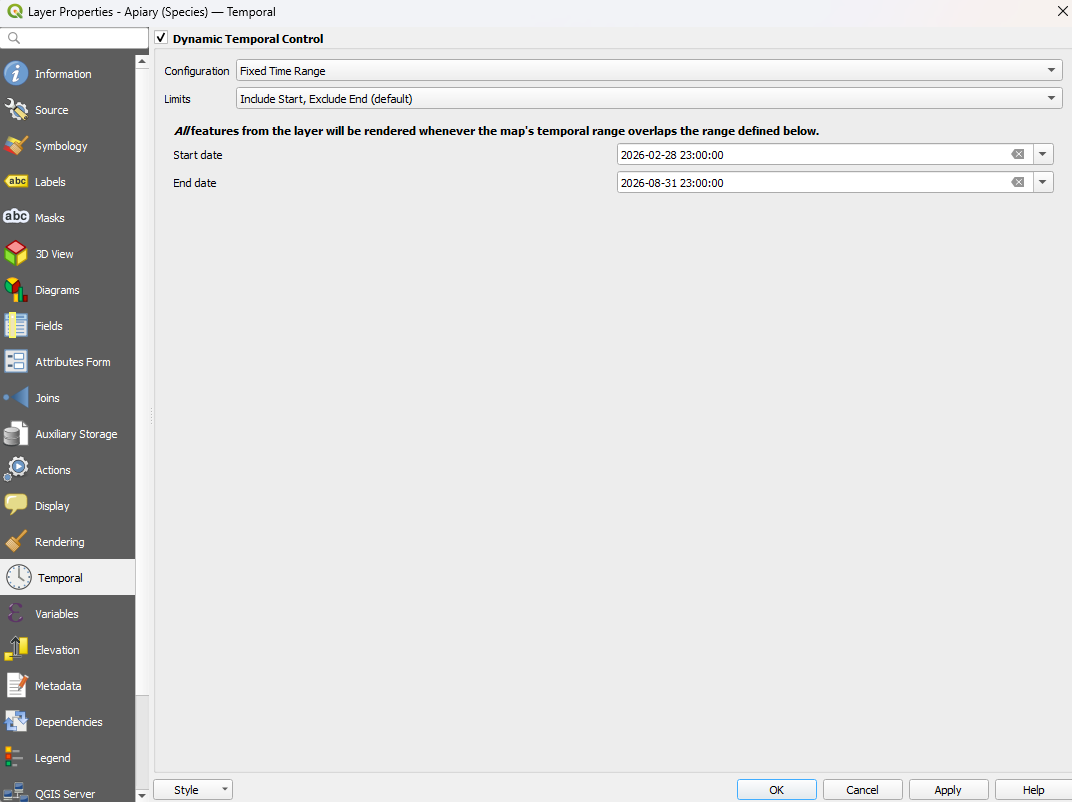
QGIS Dynamic Temporal Control settings - Select your preferred temporal configuration mode (such as single field datetime, separate start/end date fields, or event duration). Read more in the QGIS Vector Layer Temporal Properties Documentation.
- Save your project and synchronize it to QField.
Applying Temporal Filters in QField
Feldarbeit
Filter layer features by time range directly on your mobile device.
Workflow
- Open the Side Dashboard.
- Tap the clock icon in the header bar.
- Select or define the desired time range.
- Close the panel to inspect temporal features rendered on the map canvas.
Note
QField temporal filtering operates identically to the fixed range temporal navigation mode in QGIS.