Map styling
All style settings from QGIS are directly supported by QField. This includes all renderer types like graduated, categorized, rule based, 2.5D as well as data defined symbology.
Expression d'affichage
Préparation Desktop
In QField, objects are identified with a name, which can be customized using expressions.
- Open the attribute table in QGIS and switch to the form view.
- Direct to Vector Layer Properties > Display > Attribute.
L'expression d'affichage est aussi utilisée pour rechercher dans les couches.

Couches en lecture seule, non identifiables et interrogeables
Préparation Ordinateur
Some layers in a project are just there for pure visual purpose. Such layers should not show up when a user taps somewhere to identify objects.
Some other layers serve as source of information and shouldn't be modified by the user. It is possible to protect layers from editing attributes or adding and deleting features.
Il est aussi possible de configurer quelles couches sont recherchées.
- Direct to Project > Properties... > Data Sources and activate the checkboxes to match your desired behaviour.

Using additional fonts
Préparation Ordinateur
QField enables you to use all the custom fonts you might want and need. There are two different possibilities to register additional fonts:
Addition of fonts through the local directory
- Copy your font file (.ttf or .otf) in the directory [App Directory]/QField/fonts. Those will be made accessible to all projects and individual datasets.
Addition of fonts in subfolder of QGIS file
- Create a subfolder called fonts inside the same folder where your given project file (
.qgsor.qgz). is stored. Those fonts will only be accessible when viewing that project.
Symboles SVG personnalisés
Préparation Ordinateur
It is possible to embed SVG symbols directly within a QGIS project.
- Choisissez la couche qui supportera la symbologie SVG et ouvrez son dialogue de propriétés.
- Open the section Symbology in Properties > Symbology
- In the Symbol Layer Panel choose Simple marker.

- Change the symbol layer type in Symbol layer type > SVG marker.

- Scroll down to the bottom panel.
- Cliquez sur le côté droit du bouton de sélection de fichier pour ouvrir le menu déroulant.
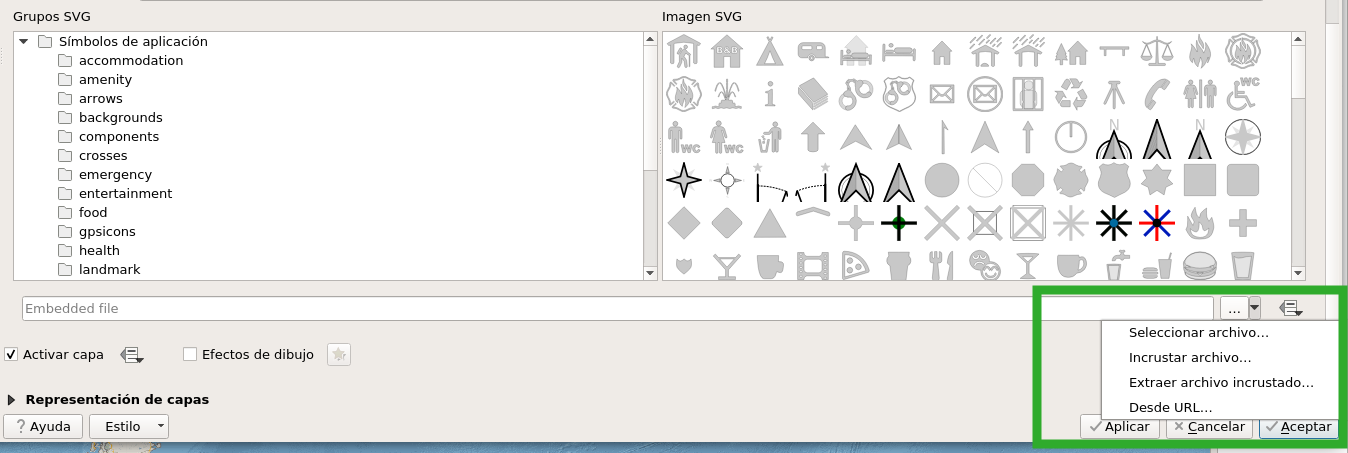
- Select Embed File and choose the SVG file in the file selection dialog.
- Apply the changes and click OK.