传感器
QField offers a range of sensor functionalities that allow you to passively collect sensor data in the background, display the collected data, and save it into newly-digitized feature attributes.
激活传感器
In QField, registered sensors are listed within the currently opened project file in a sub-menu that can be accessed via the Side Dashboard.
Workflow
- Open the Side Dashboard
-
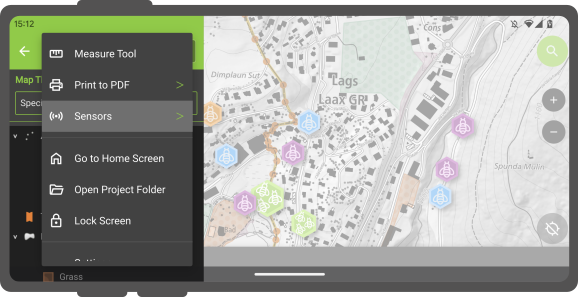
Tap on the 3-dotted-menu and select Sensor Note: This option will only appear if you have a sensor configured. See here how to configure a sensor.
-
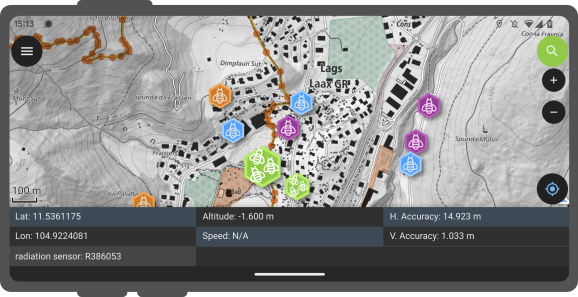
To toggle the passive collection of sensor data, simply click on a sensor name in the sub-menu. When active, a sensor icon will appear next to the sensor name, while when inactive, a dot icon will be shown. All active sensors that are collecting data will be listed in a sensors information table located at the bottom of QField's map canvas.
Sensor-driven tracking
If your project has the right configuration, you can track the sensor recordings in a point layer. See here how to configure the QGIS project, prior to the fieldwork.
Workflow
- Open the Side Dashboard and long-press on the layer which you want to use for tracking.
-
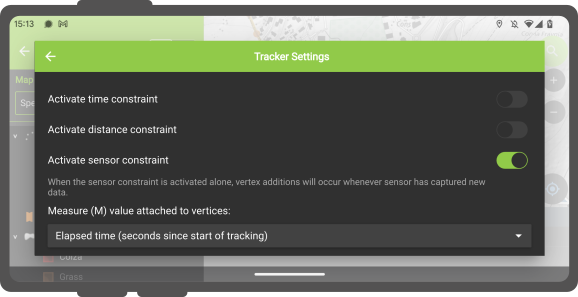
Tap Setup tracking and a new window will appear showing the configuration settings.
-
Choose the Sensor data-requirement option.
- Tap the Start tracking button to begin the tracking.
- Enter the attributes for the feature(s) about to be created and tap the .
If your QGIS project was pre-configured, the recorded values of the sensor will be saved in the corresponding field.
Once a tracking session is set up, a badge appears in the Side Dashboard next to the tracked layers.
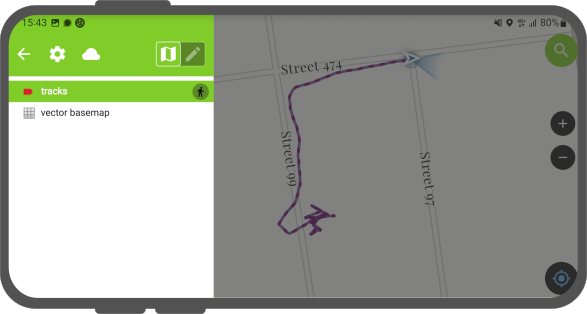
- Once finished open the Side Dashboard and long-press on the layer's tracking badge you want to stop.
- Tap Stop tracking to finish the session.